

Lead #
In Frappe CRM, a Lead represents a potential customer who has shown some level of interest in your products or services. These leads can be generated through various channels, including:
- Website inquiries (contact forms, live chat)
- Referrals from existing customers
- Networking events and conferences
- Paid marketing campaigns (social media ads, search engine ads)

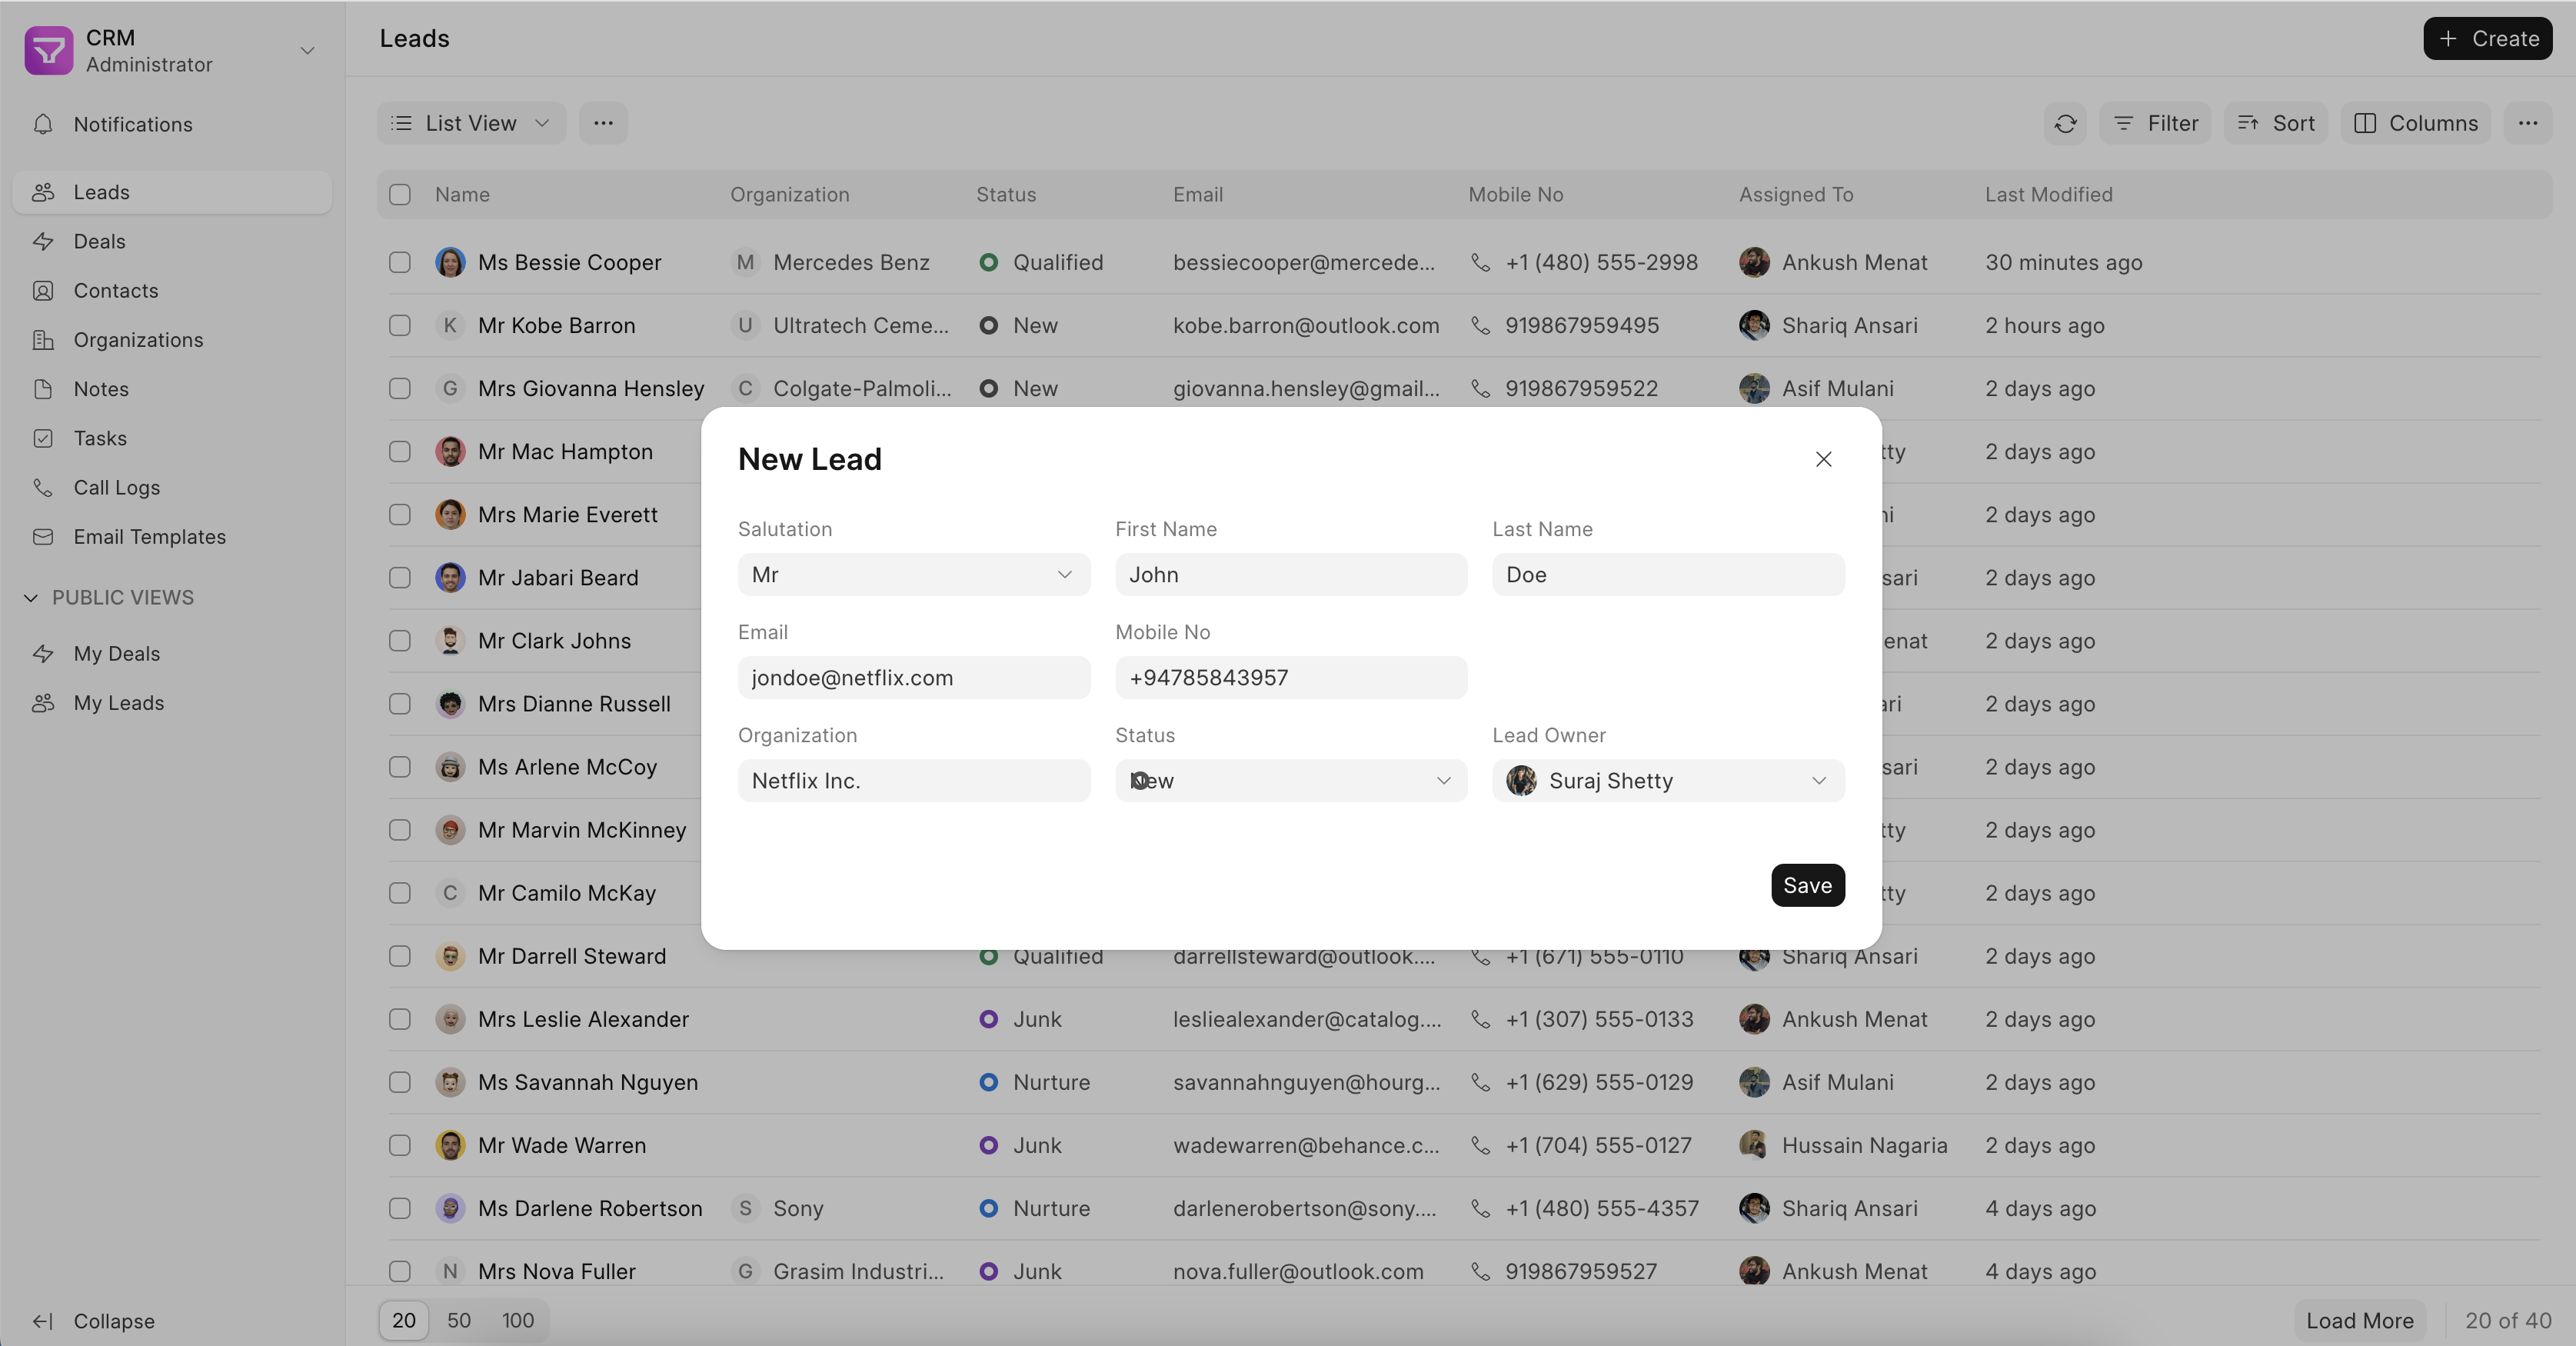
Capturing Lead data #
The Lead page in Frappe CRM serves as a central hub for capturing and managing all your potential customer information. This is where you’ll gather the initial details about an interested party, such as:
- Name and contact information (email, phone)
- Company information (if applicable)
- How they heard about you (lead source)
- Specific interests or needs (products/services)
Important Note: The Lead page focuses solely on capturing this initial data. It doesn’t automatically create Contacts or Organizations within Frappe CRM.

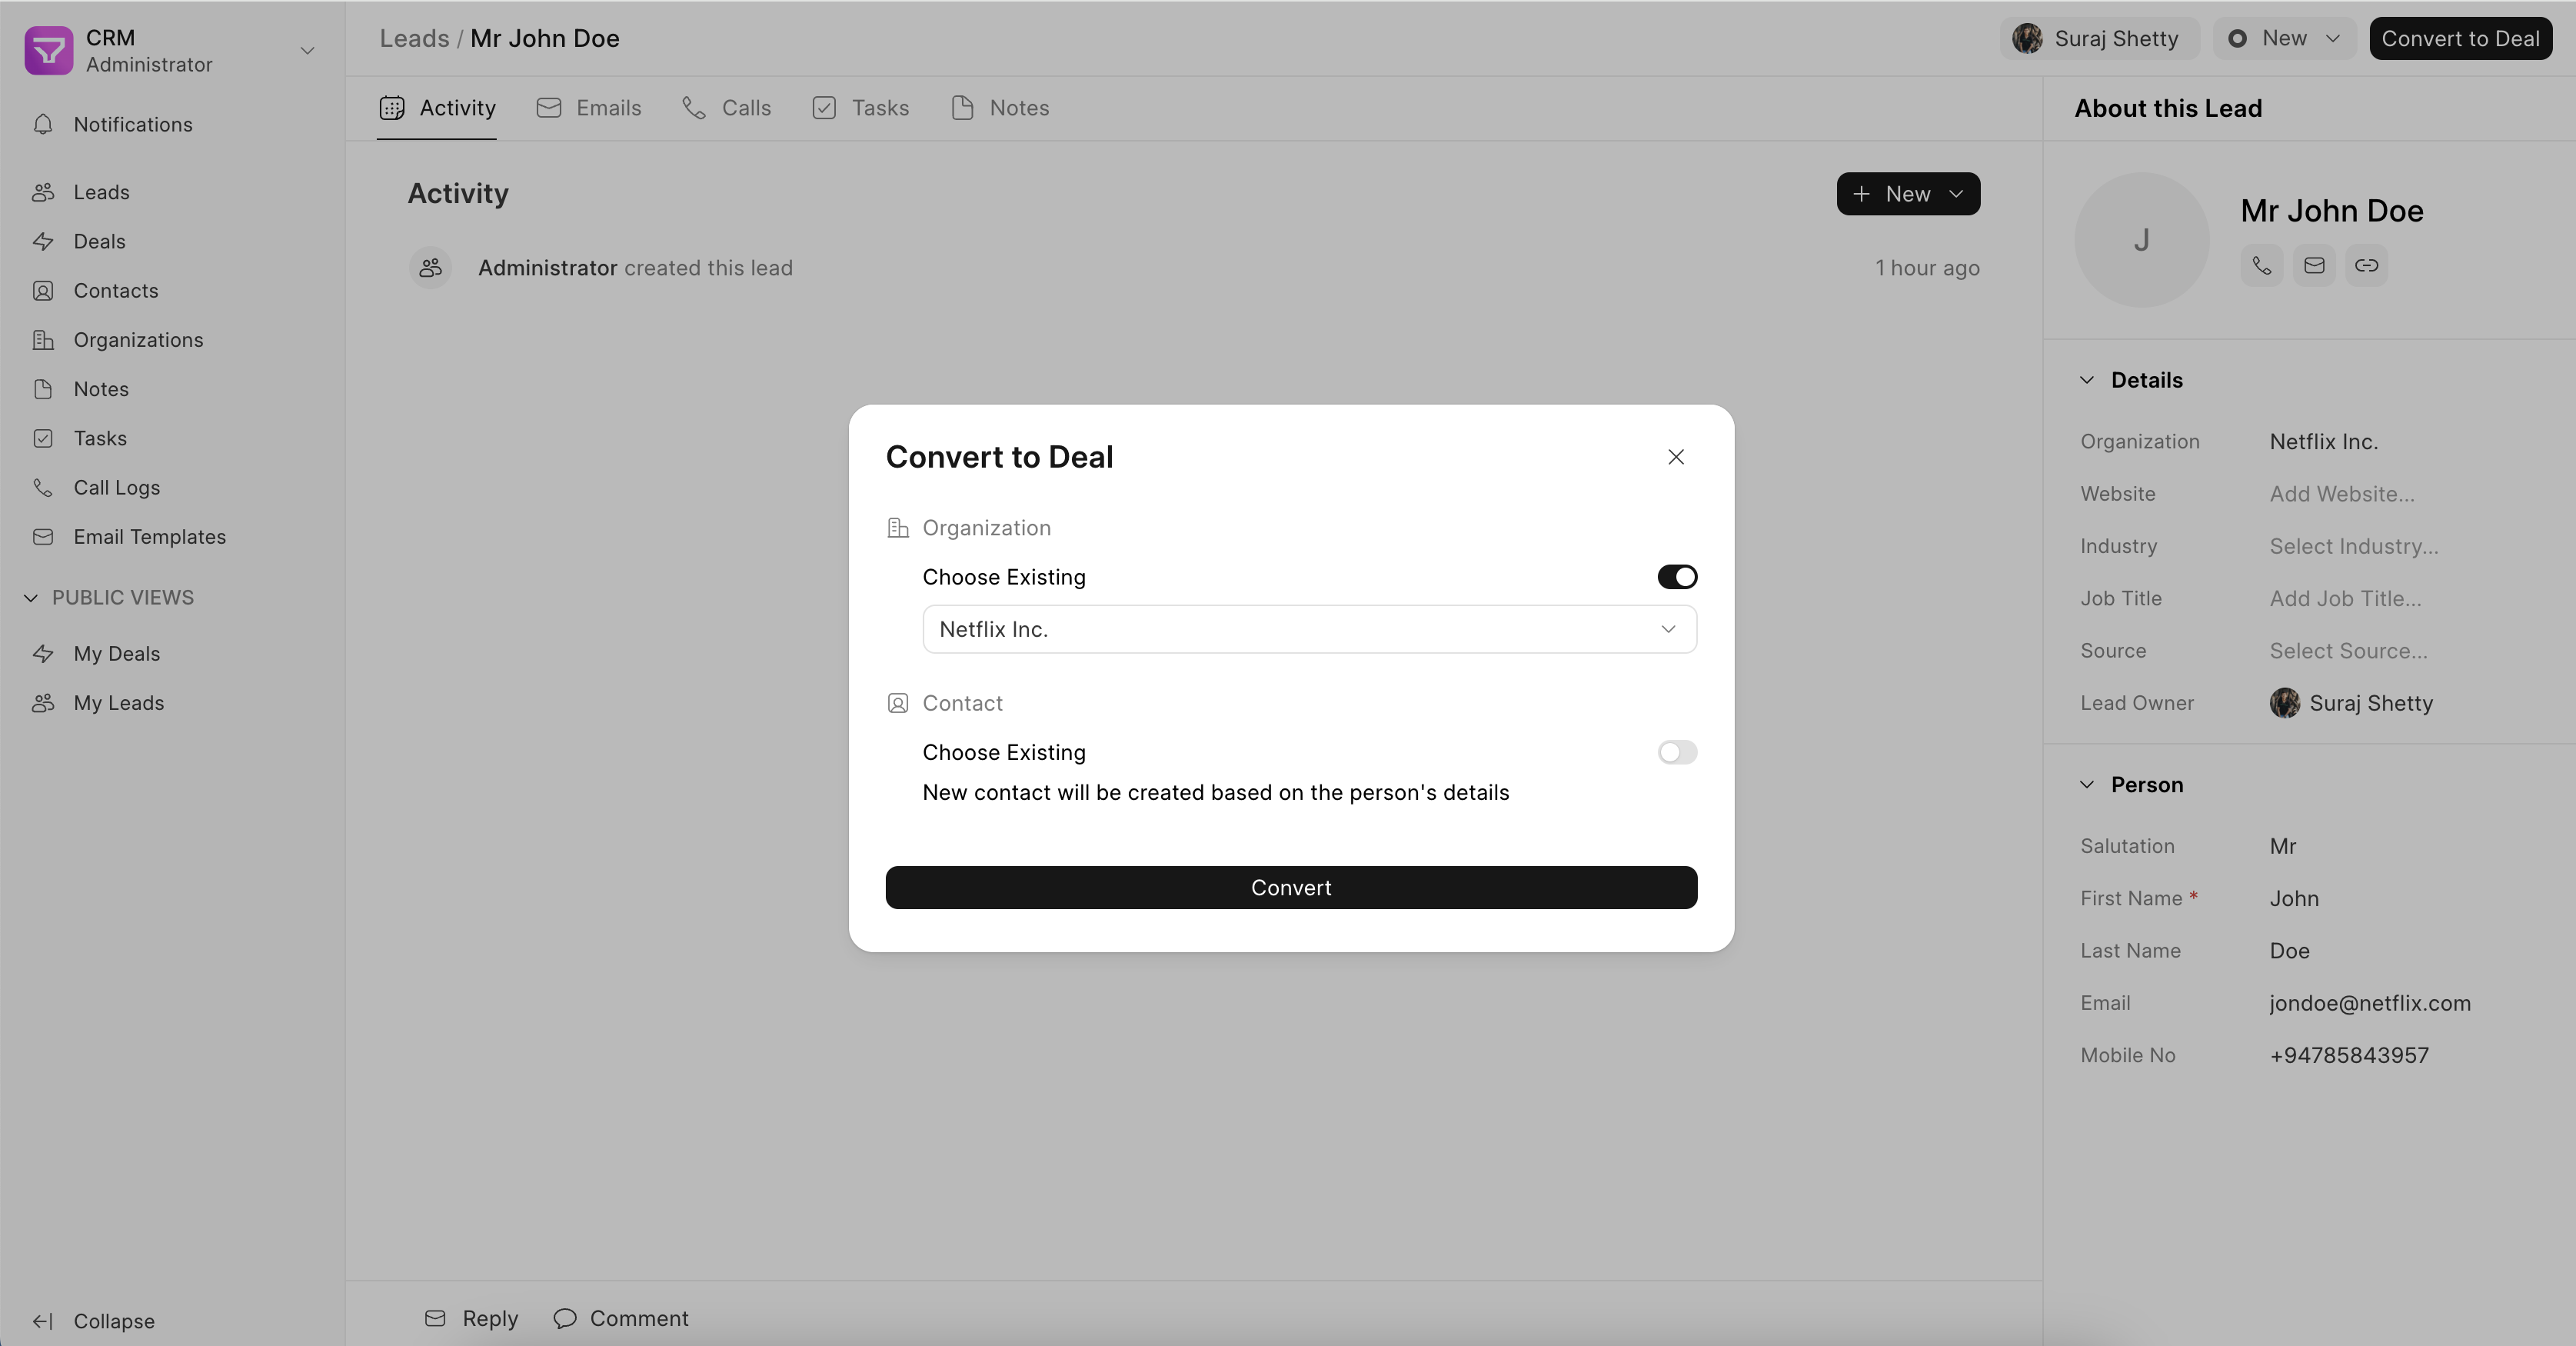
Converting Leads to Deals #
Once you’ve collected enough information and qualified the Lead (determined their potential for conversion), you can seamlessly move them further down the sales funnel by converting them into a Deal.
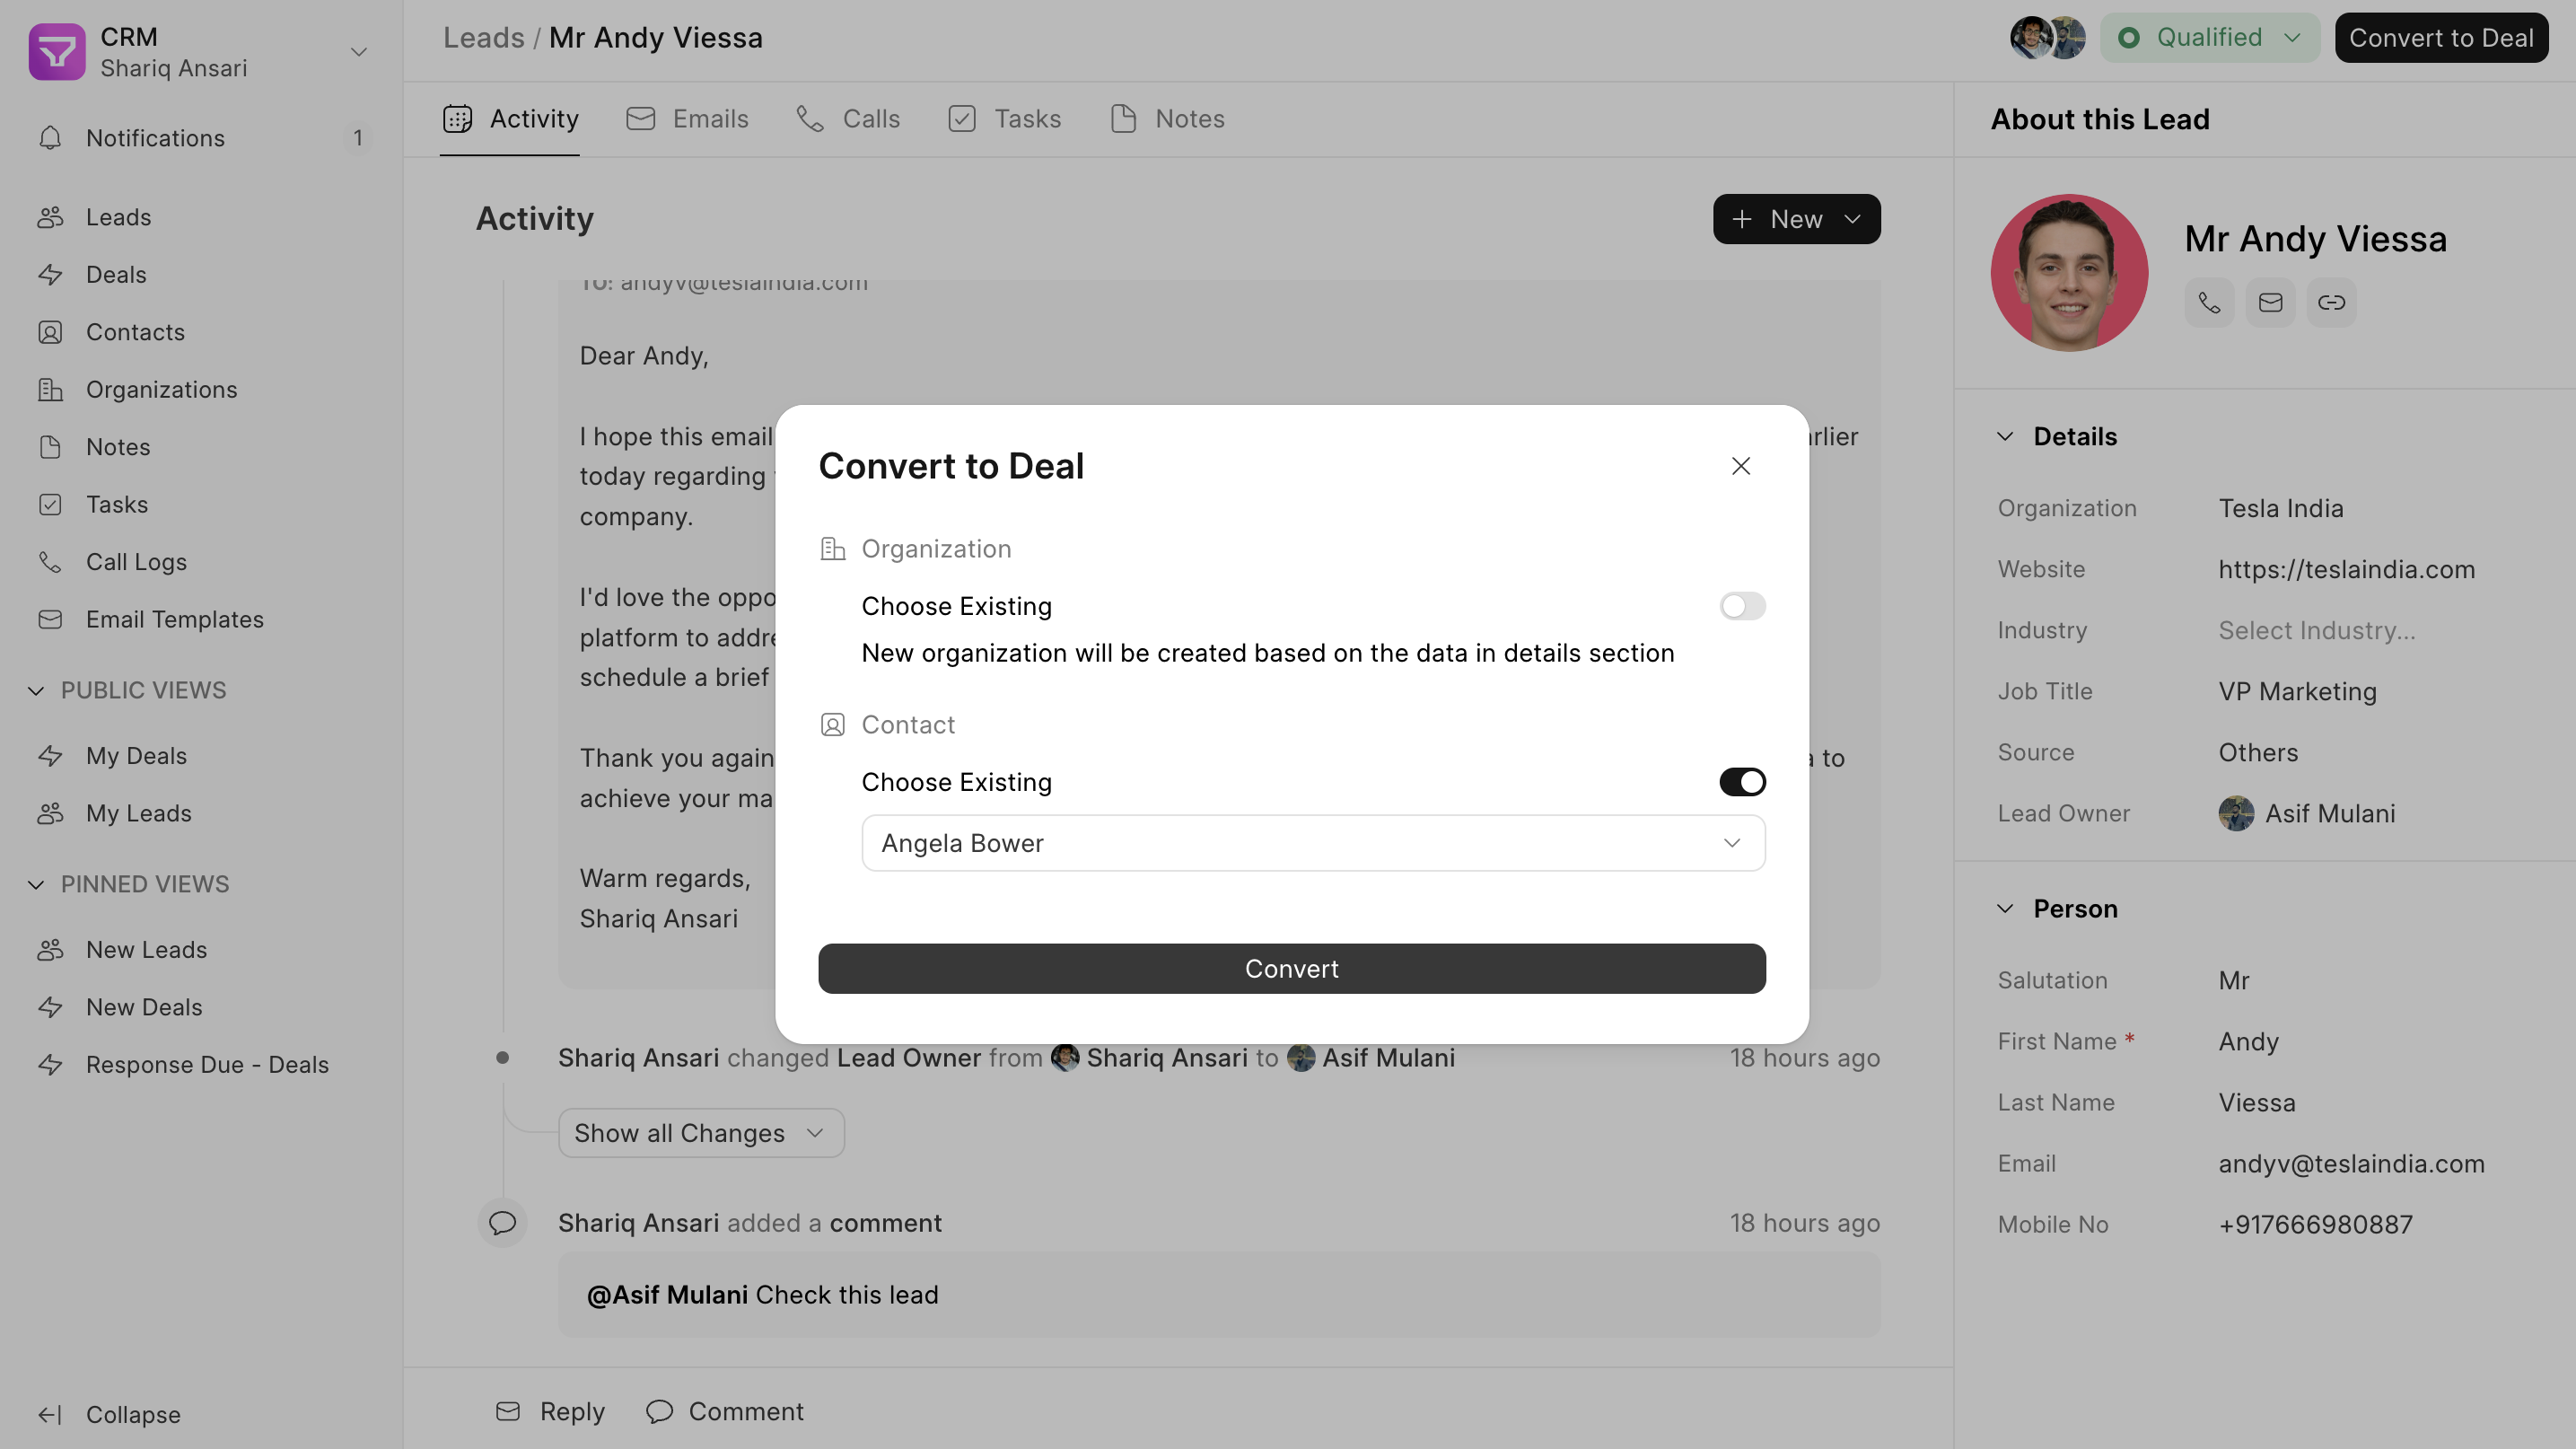
During the conversion process, you will receive an option to:
- Create new Contact and Organization records based on the details captured in the Lead.
- Select existing Contact and Organization records if they already exist in your CRM.
By converting qualified Leads into Deals, you can initiate the sales process and track your progress towards closing the deal.
Additional tips #
- Use clear and concise labels for each data field on the Lead page.
- Consider customizing the Lead page to capture information specific to your sales process.
- Leverage features like lead scoring to prioritize your efforts and focus on the most promising leads.
Deal #
The Deal page is your central hub for managing potential business opportunities (deals) with your customers and prospects. Here, you can track progress, collaborate with colleagues, and close deals efficiently.
What is a Deal? #
A deal represents a potential sales transaction your company is pursuing with a customer or prospect. It’s associated with specific products or services and reflects the potential revenue you could generate if the opportunity is successfully closed.
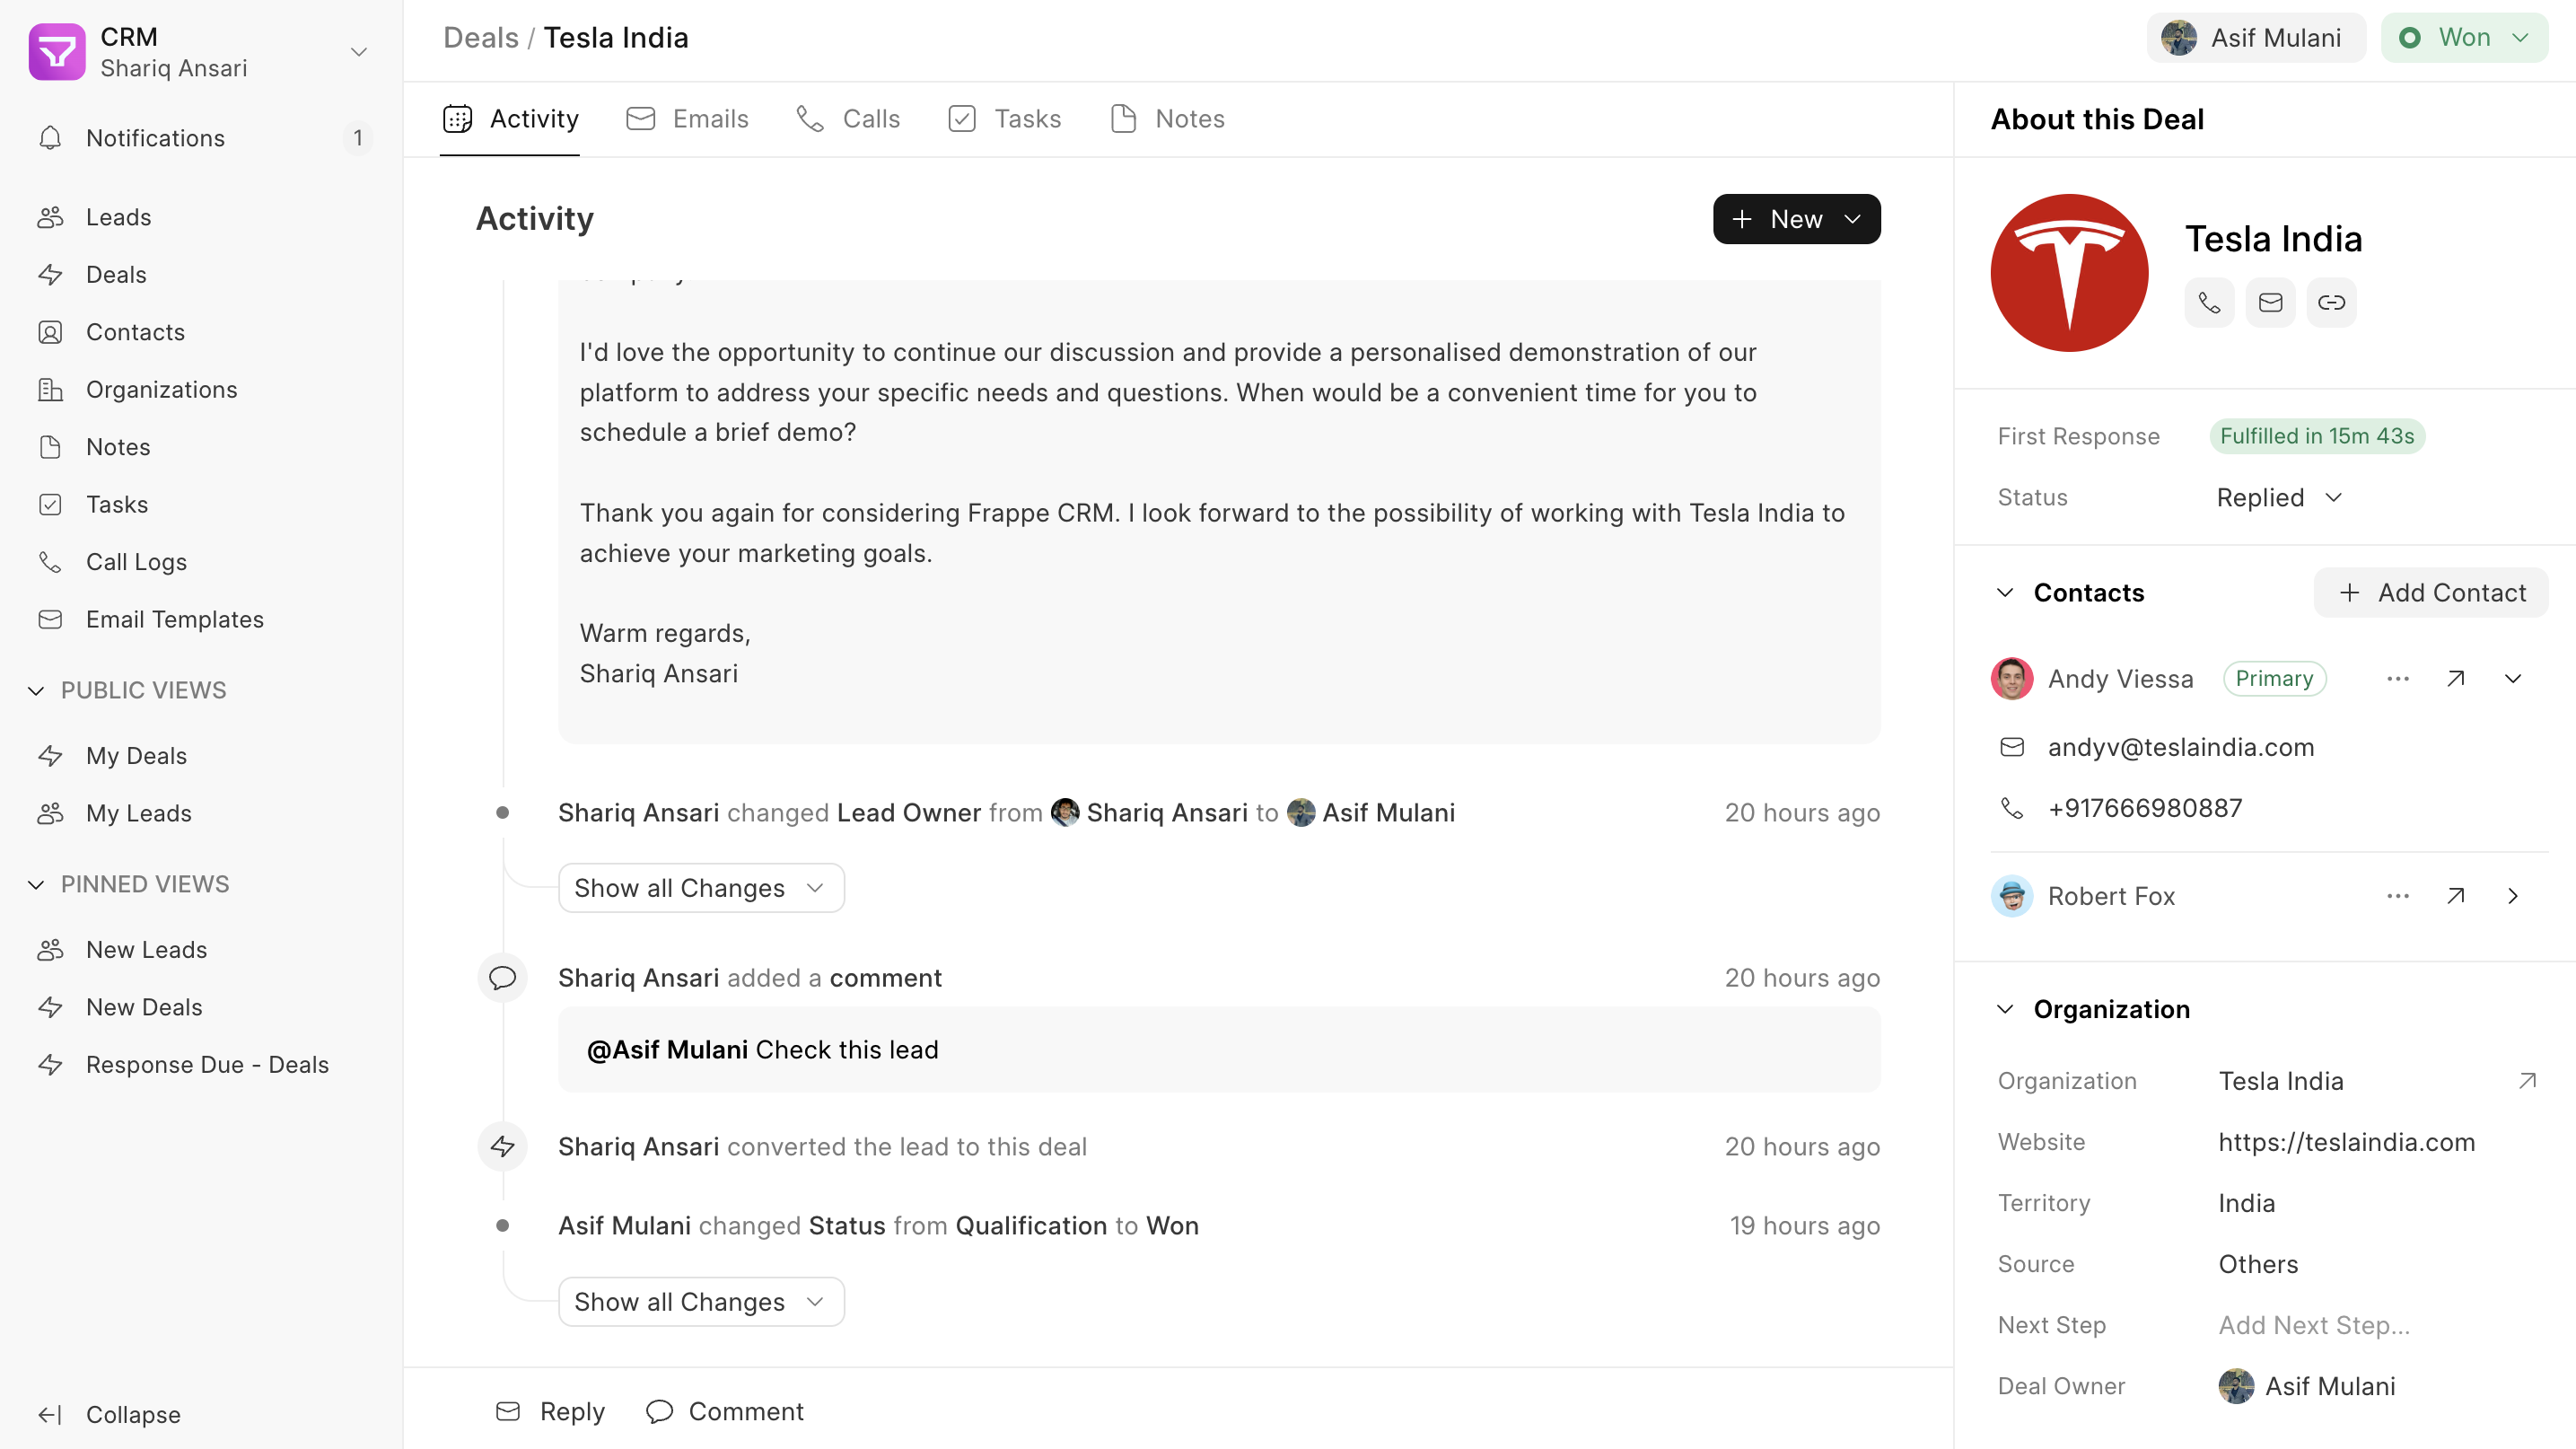
After conversion #
When a lead shows promise, you can convert them into a deal. This action:
- Moves all communication history from the lead to the deal page, ensuring a seamless transition for your agents.
- Automatically creates an organization and contact record associated with the deal.
- Allows you to add additional contacts to the deal and set a primary contact person.
The Deal page: Your deal closing powerhouse #
The Deal page is your one-stop shop for nurturing leads and closing deals. It provides all the tools you need to streamline your sales process and maximize success.
Here’s what you can do on the Deal page:
- Communication Channels: Seamlessly connect with your customers via email or phone calls directly from the Deal page.
- Call Tracking & Recording: Keep track of call details and access recordings for future reference.
- Detailed Notes: Capture important details about your interactions with the customer for future reference.
- Task Management: Create tasks associated with the deal and assign them to yourself or other team members.
- Collaboration: Mention team members in comments to keep everyone informed and facilitate collaboration.
This centralized approach keeps all deal-related information and activities in one place. You can focus on your customers, close deals faster, and improve your overall sales efficiency.
Contact #
Contact store essential details like phone numbers and addresses, facilitating further communication and engagement with leads and deals. You can have multiple contacts for the same Deal.
Create a Contact #
- Go to the Contact tab and click on “Create”
- Fill in all the relevant information like Name, Email, Mobile No. and Address
- Click on Create
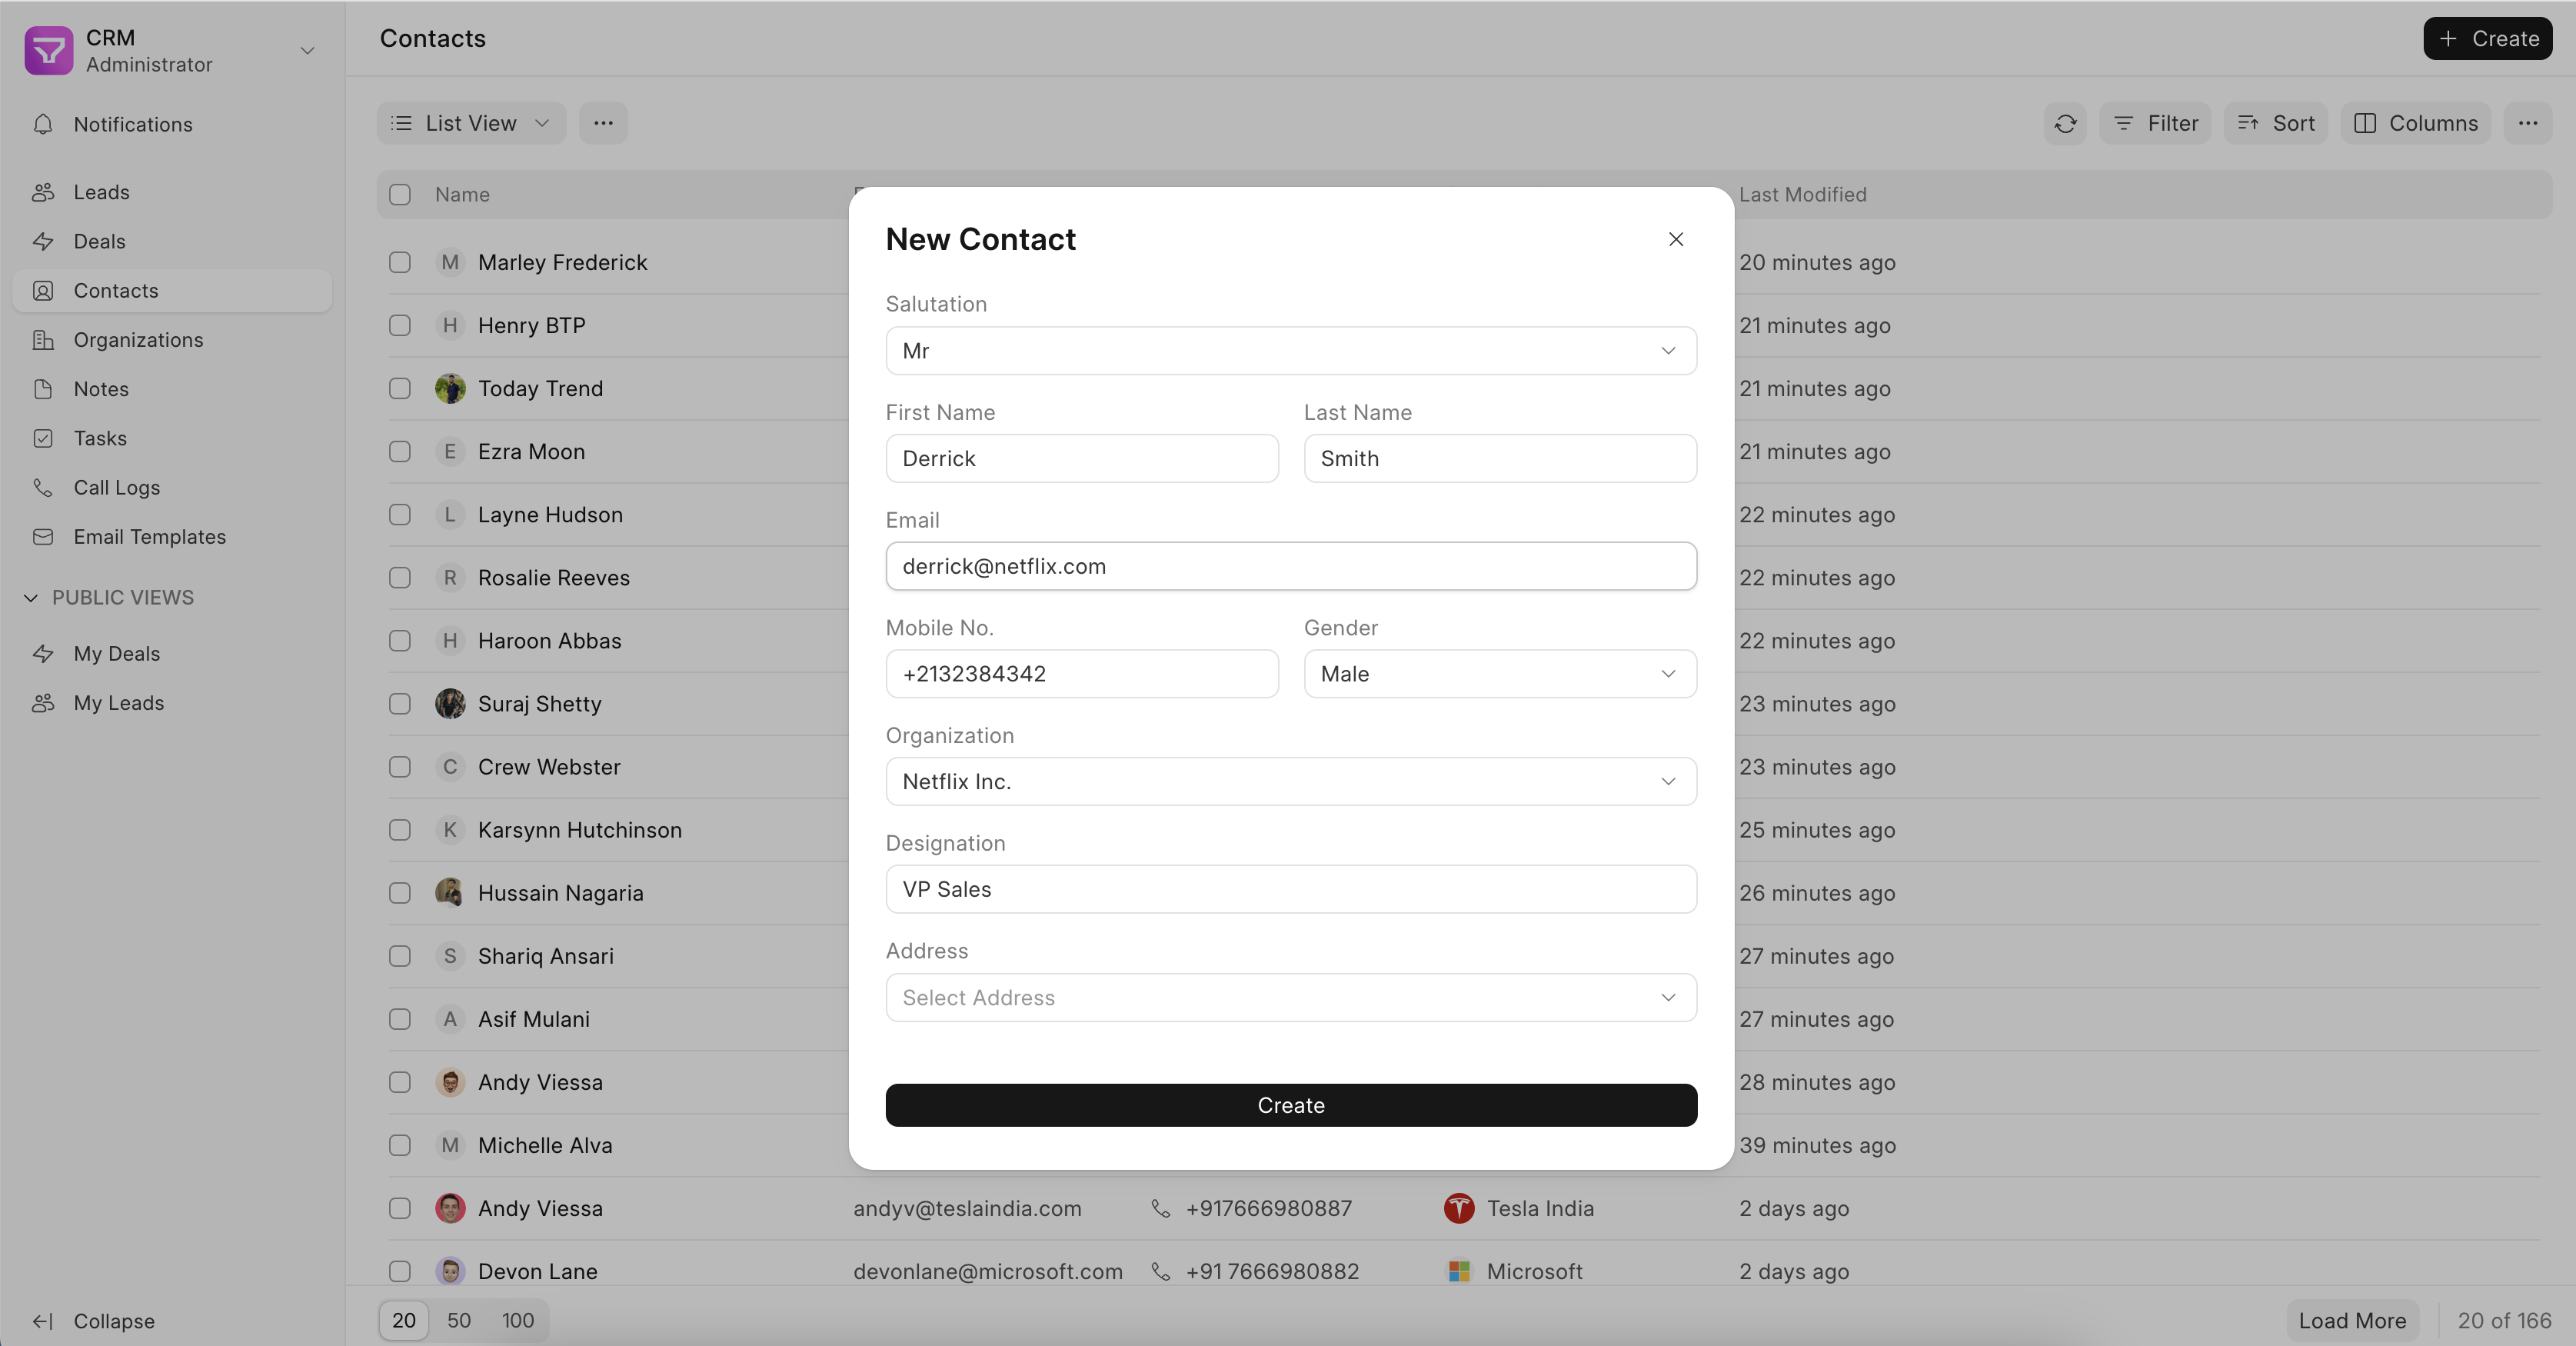
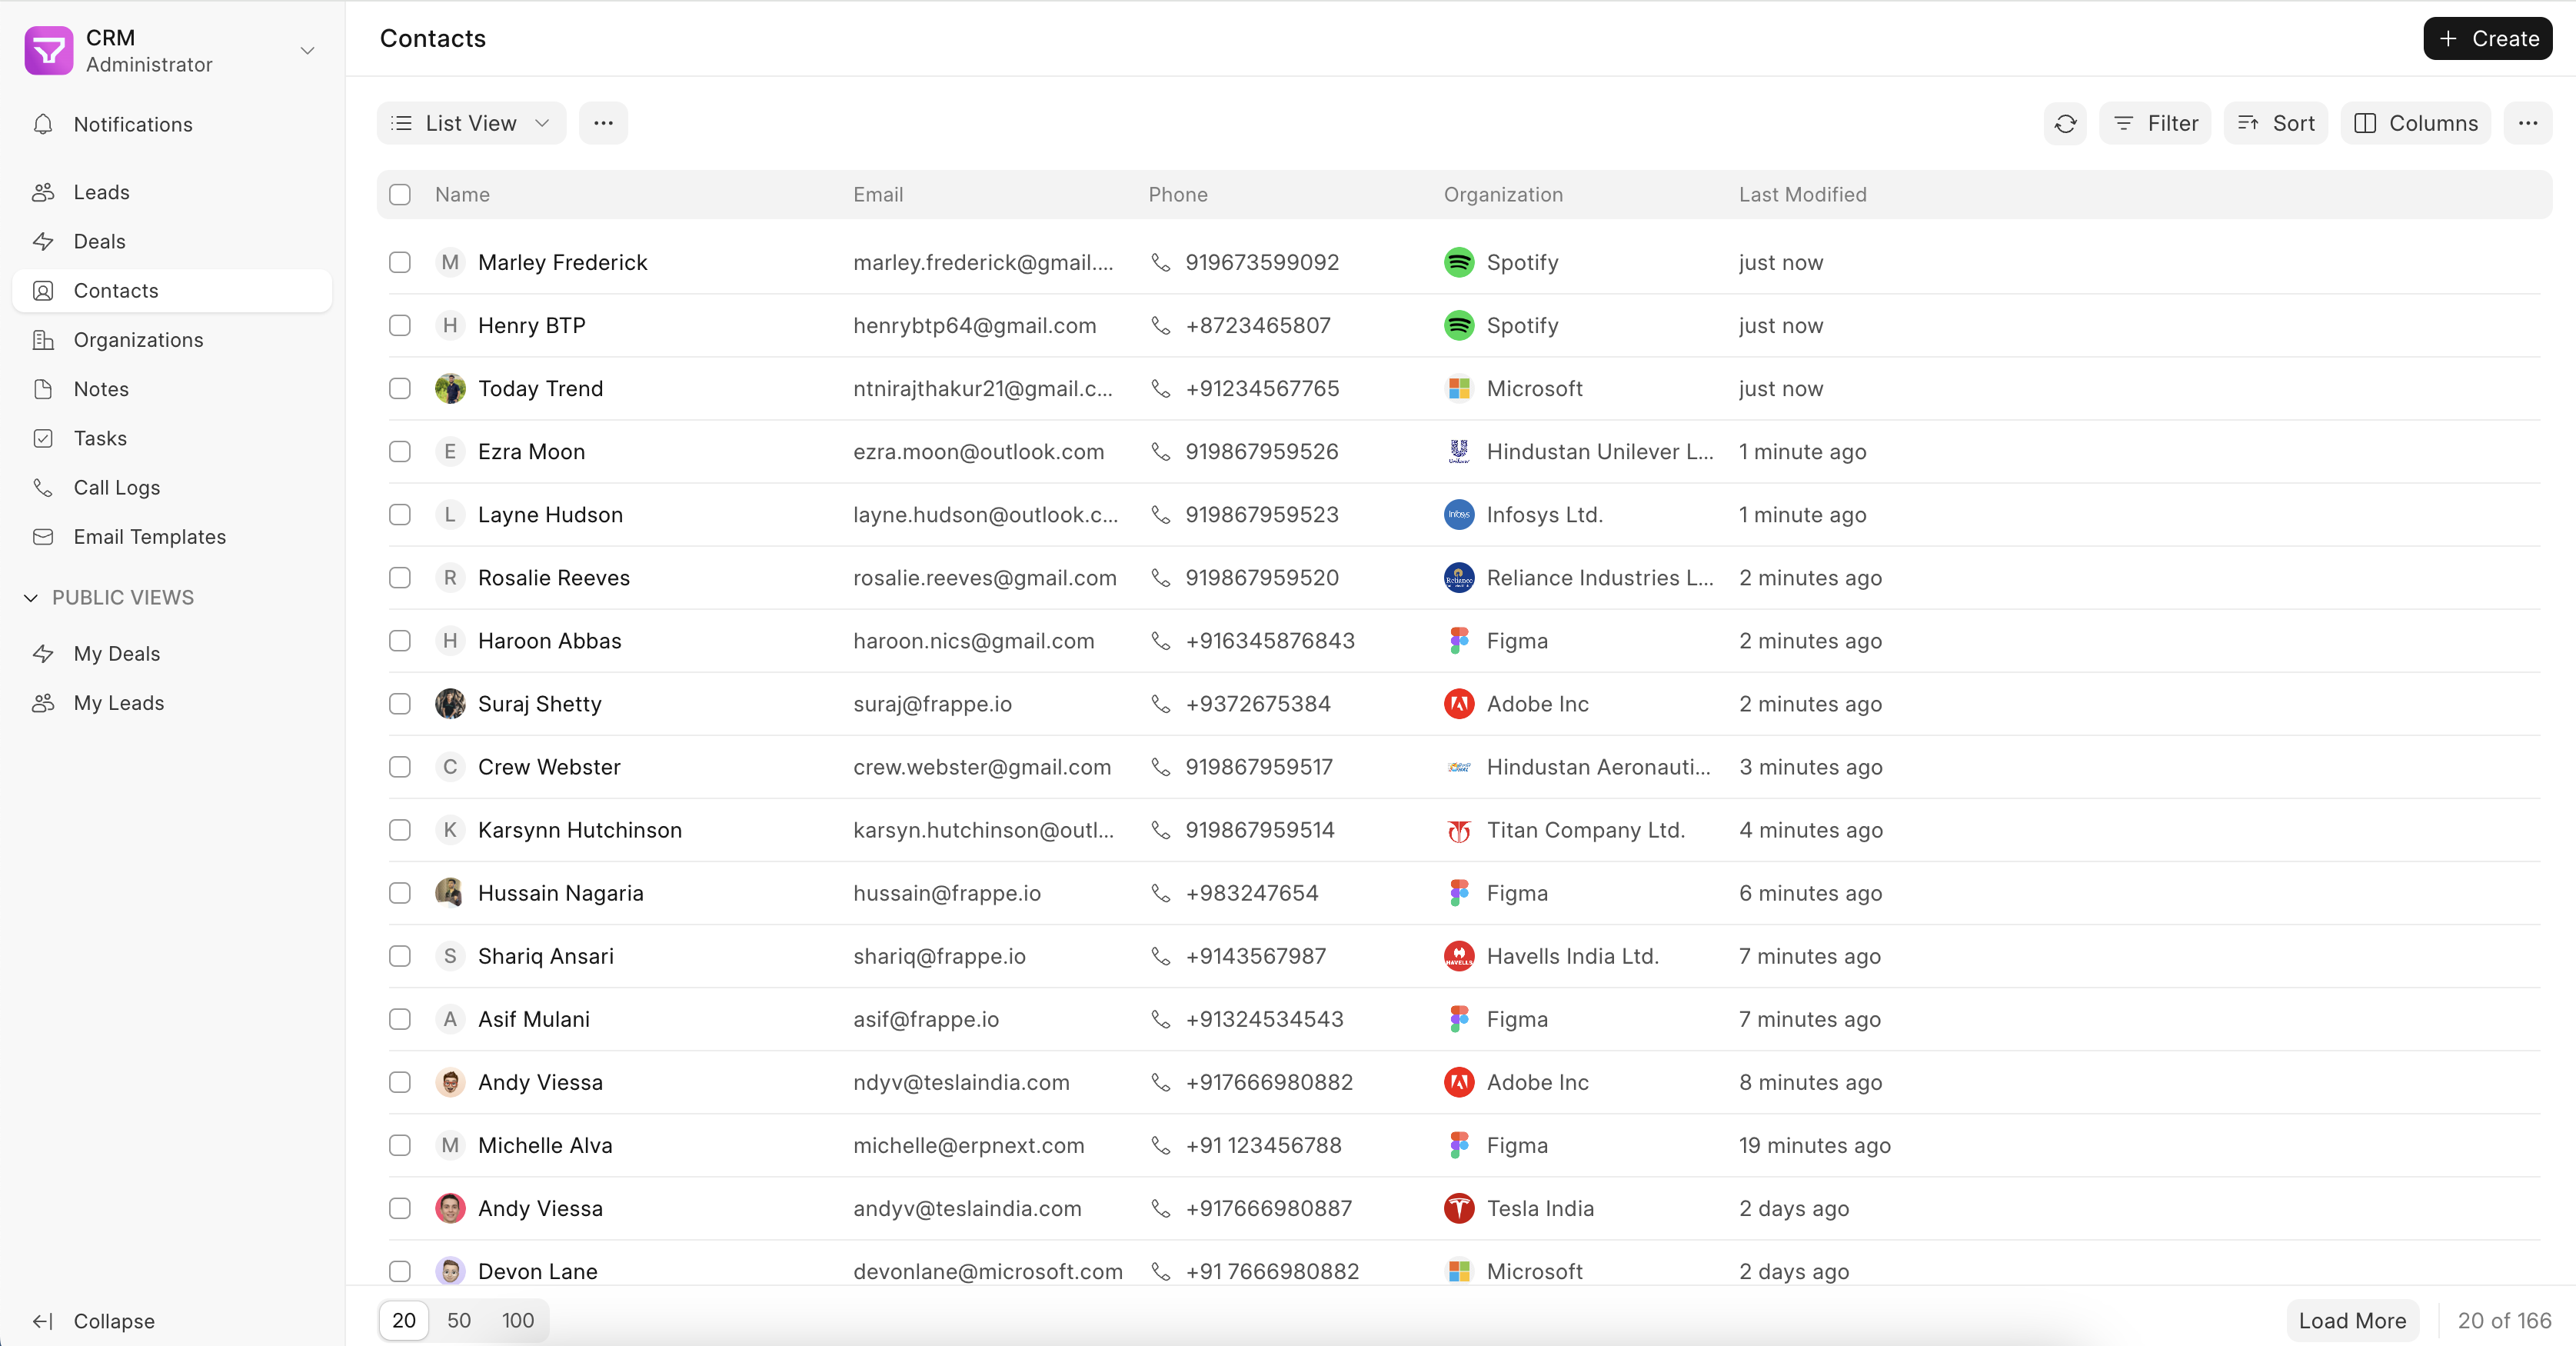
Once added, the Contact will be visible in the Contact list.
Contact created via Lead #
When you get a new Lead, add its contact details like Name, Email, Mobile No. and Organization.
Once you convert a Lead to Deal, the contact information saved in the Lead will get created as a new Contact record.
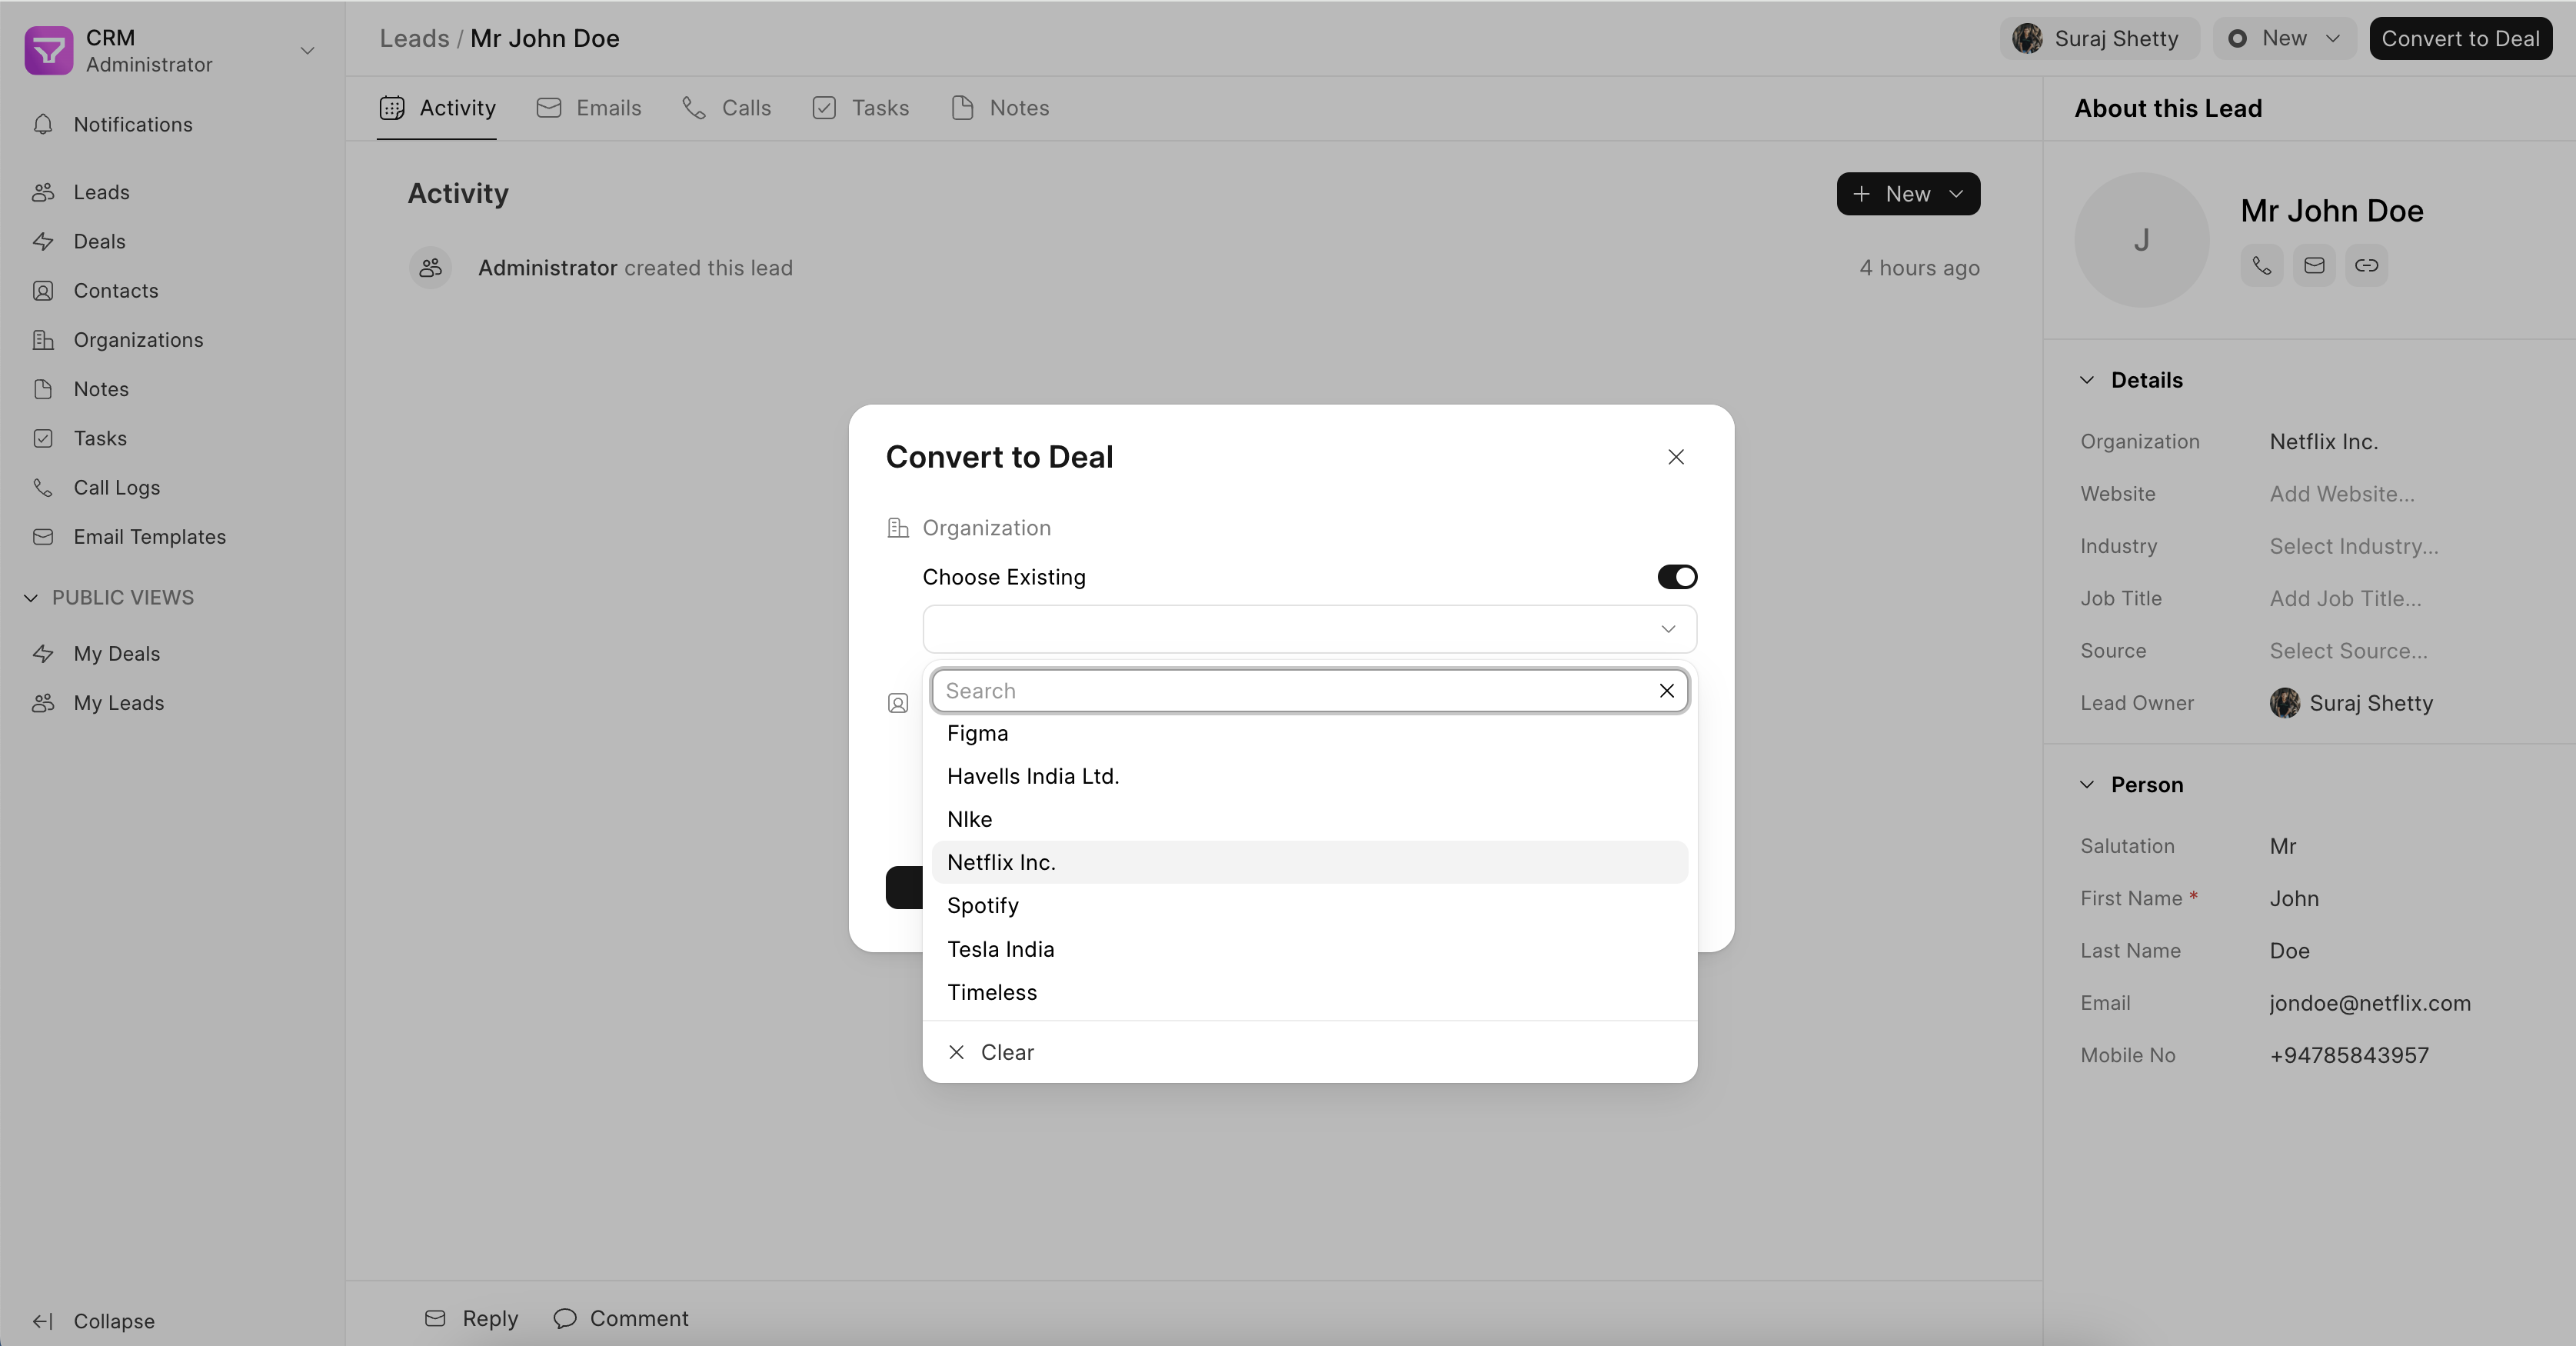
You can also select an existing Organization or Contact when you convert a Lead to Deal as shown in the screenshot below.
Linking a Contact to a Deal #
You can further link an existing Contact to a Deal via the “Add Contact” button in the Deal record.
Multiple contacts can be added to an existing Deal.
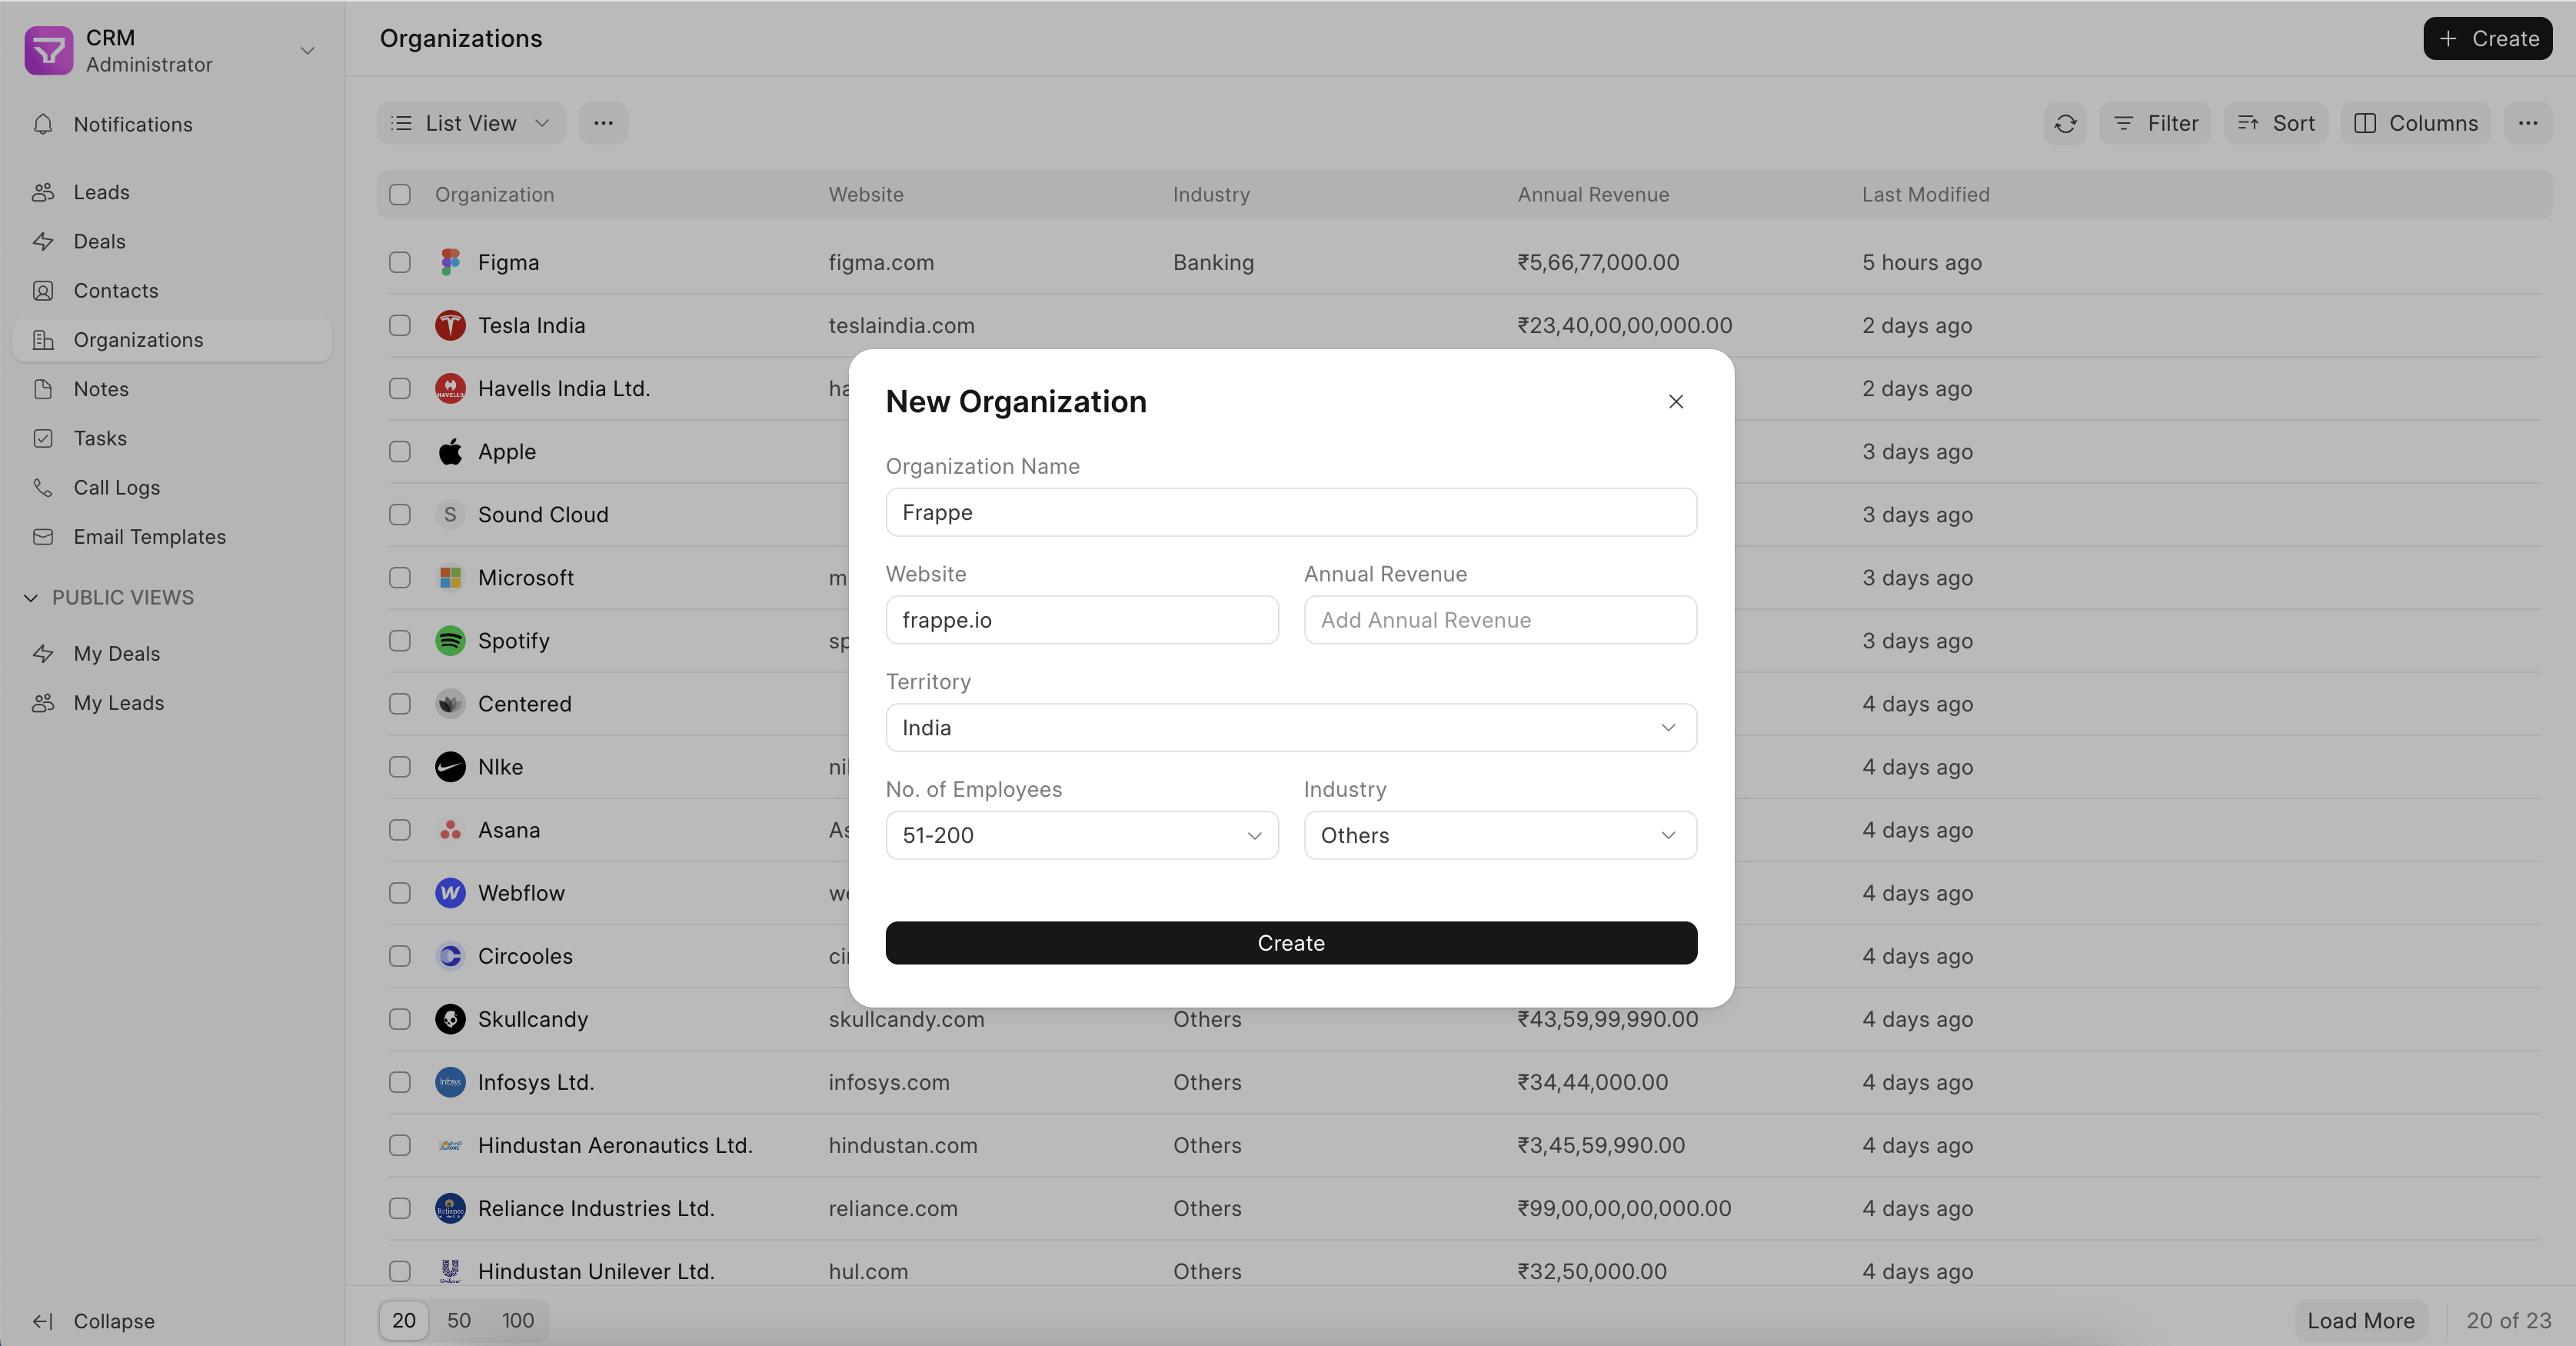
Organization #
The Organization master is used to store relevant information like website details, annual revenue, territory, and no. of employees of your Lead / Deal.
To create a new Organization,
- Go to Organization tab, and click on the “Create” button
- Fill in the relevant information
- Click on Create
Linking an Organization to a Deal #
While converting a Lead to Deal, you can either continue with the Organization mentioned in the Lead record or select from an existing Organization as shown in the screenshot below.
Note #
Notes are a way to capture and store important details about your leads and deals within Frappe CRM. This information can be referenced later to gain valuable context and insights throughout the sales process.
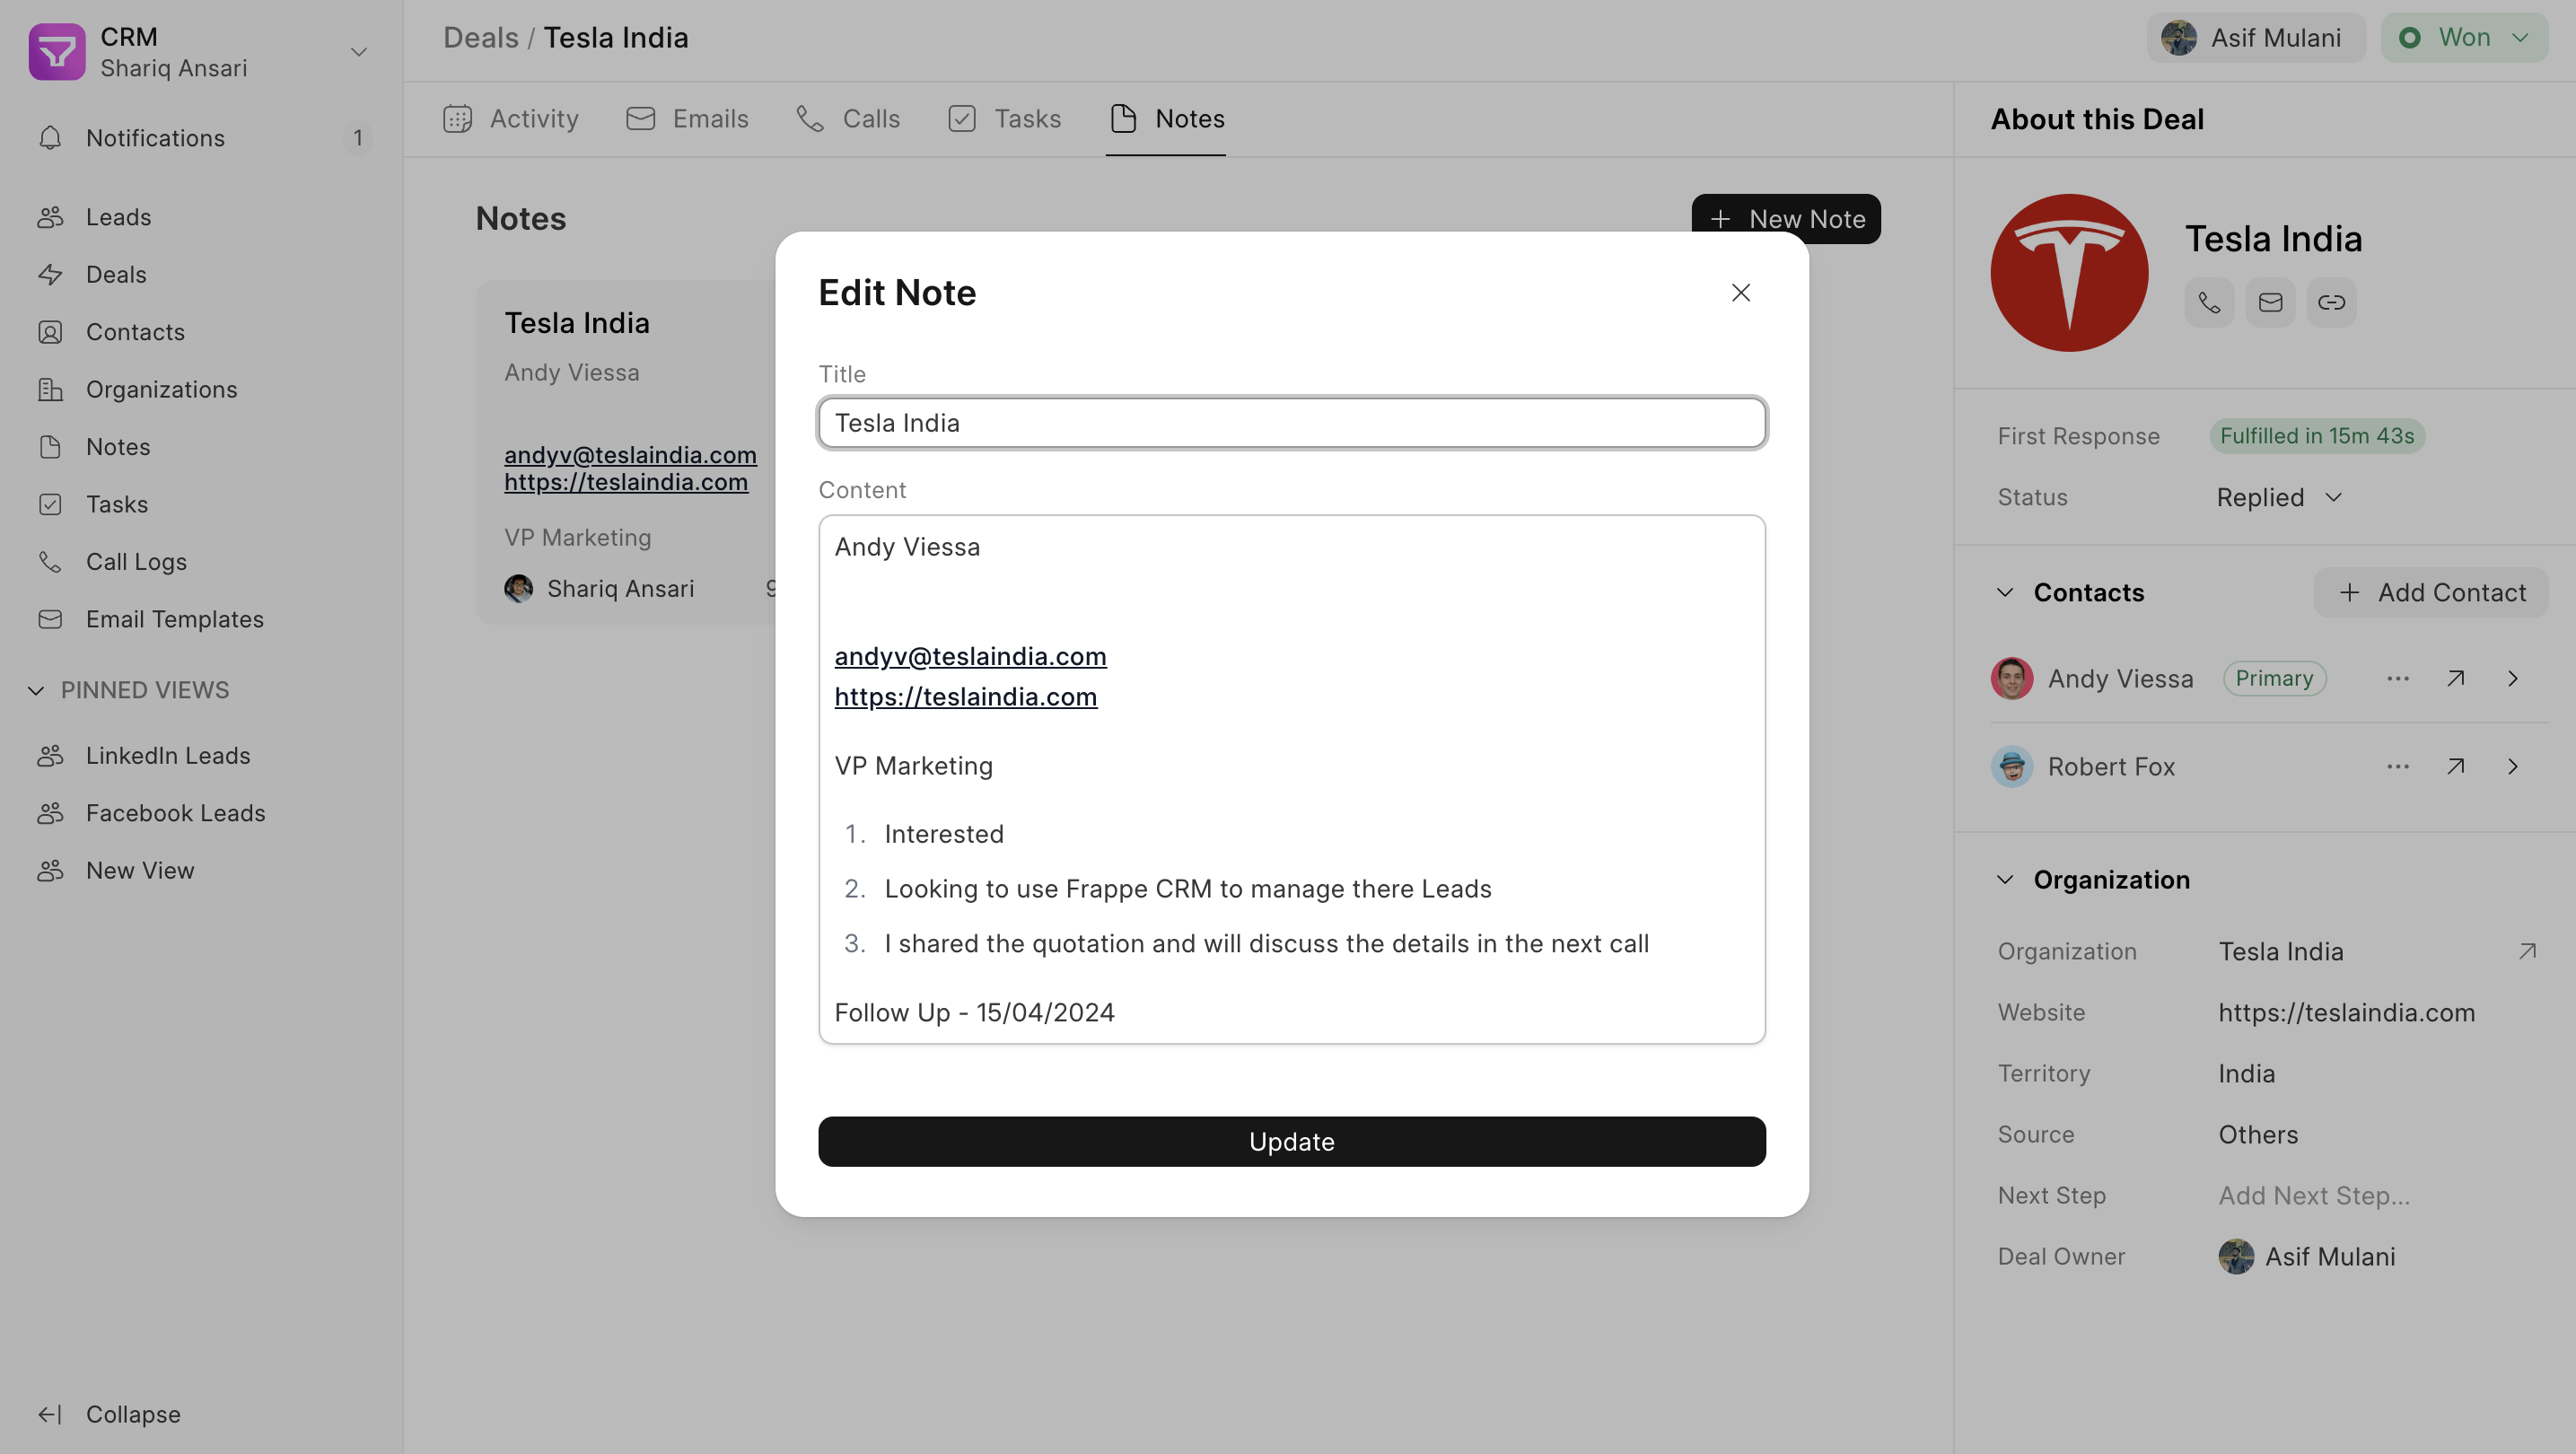
Creating Notes #
There are three ways to create notes in Frappe CRM:
- Notes List View: The Notes list view is accessible from the sidebar. This provides a centralized location to manage all your notes.

- Lead/Deal Page: Within the Lead or Deal page, either from the “New” button in the “Activity” tab or from the “Notes” tab. The notes tab displays a history of all notes associated with that specific lead or deal.
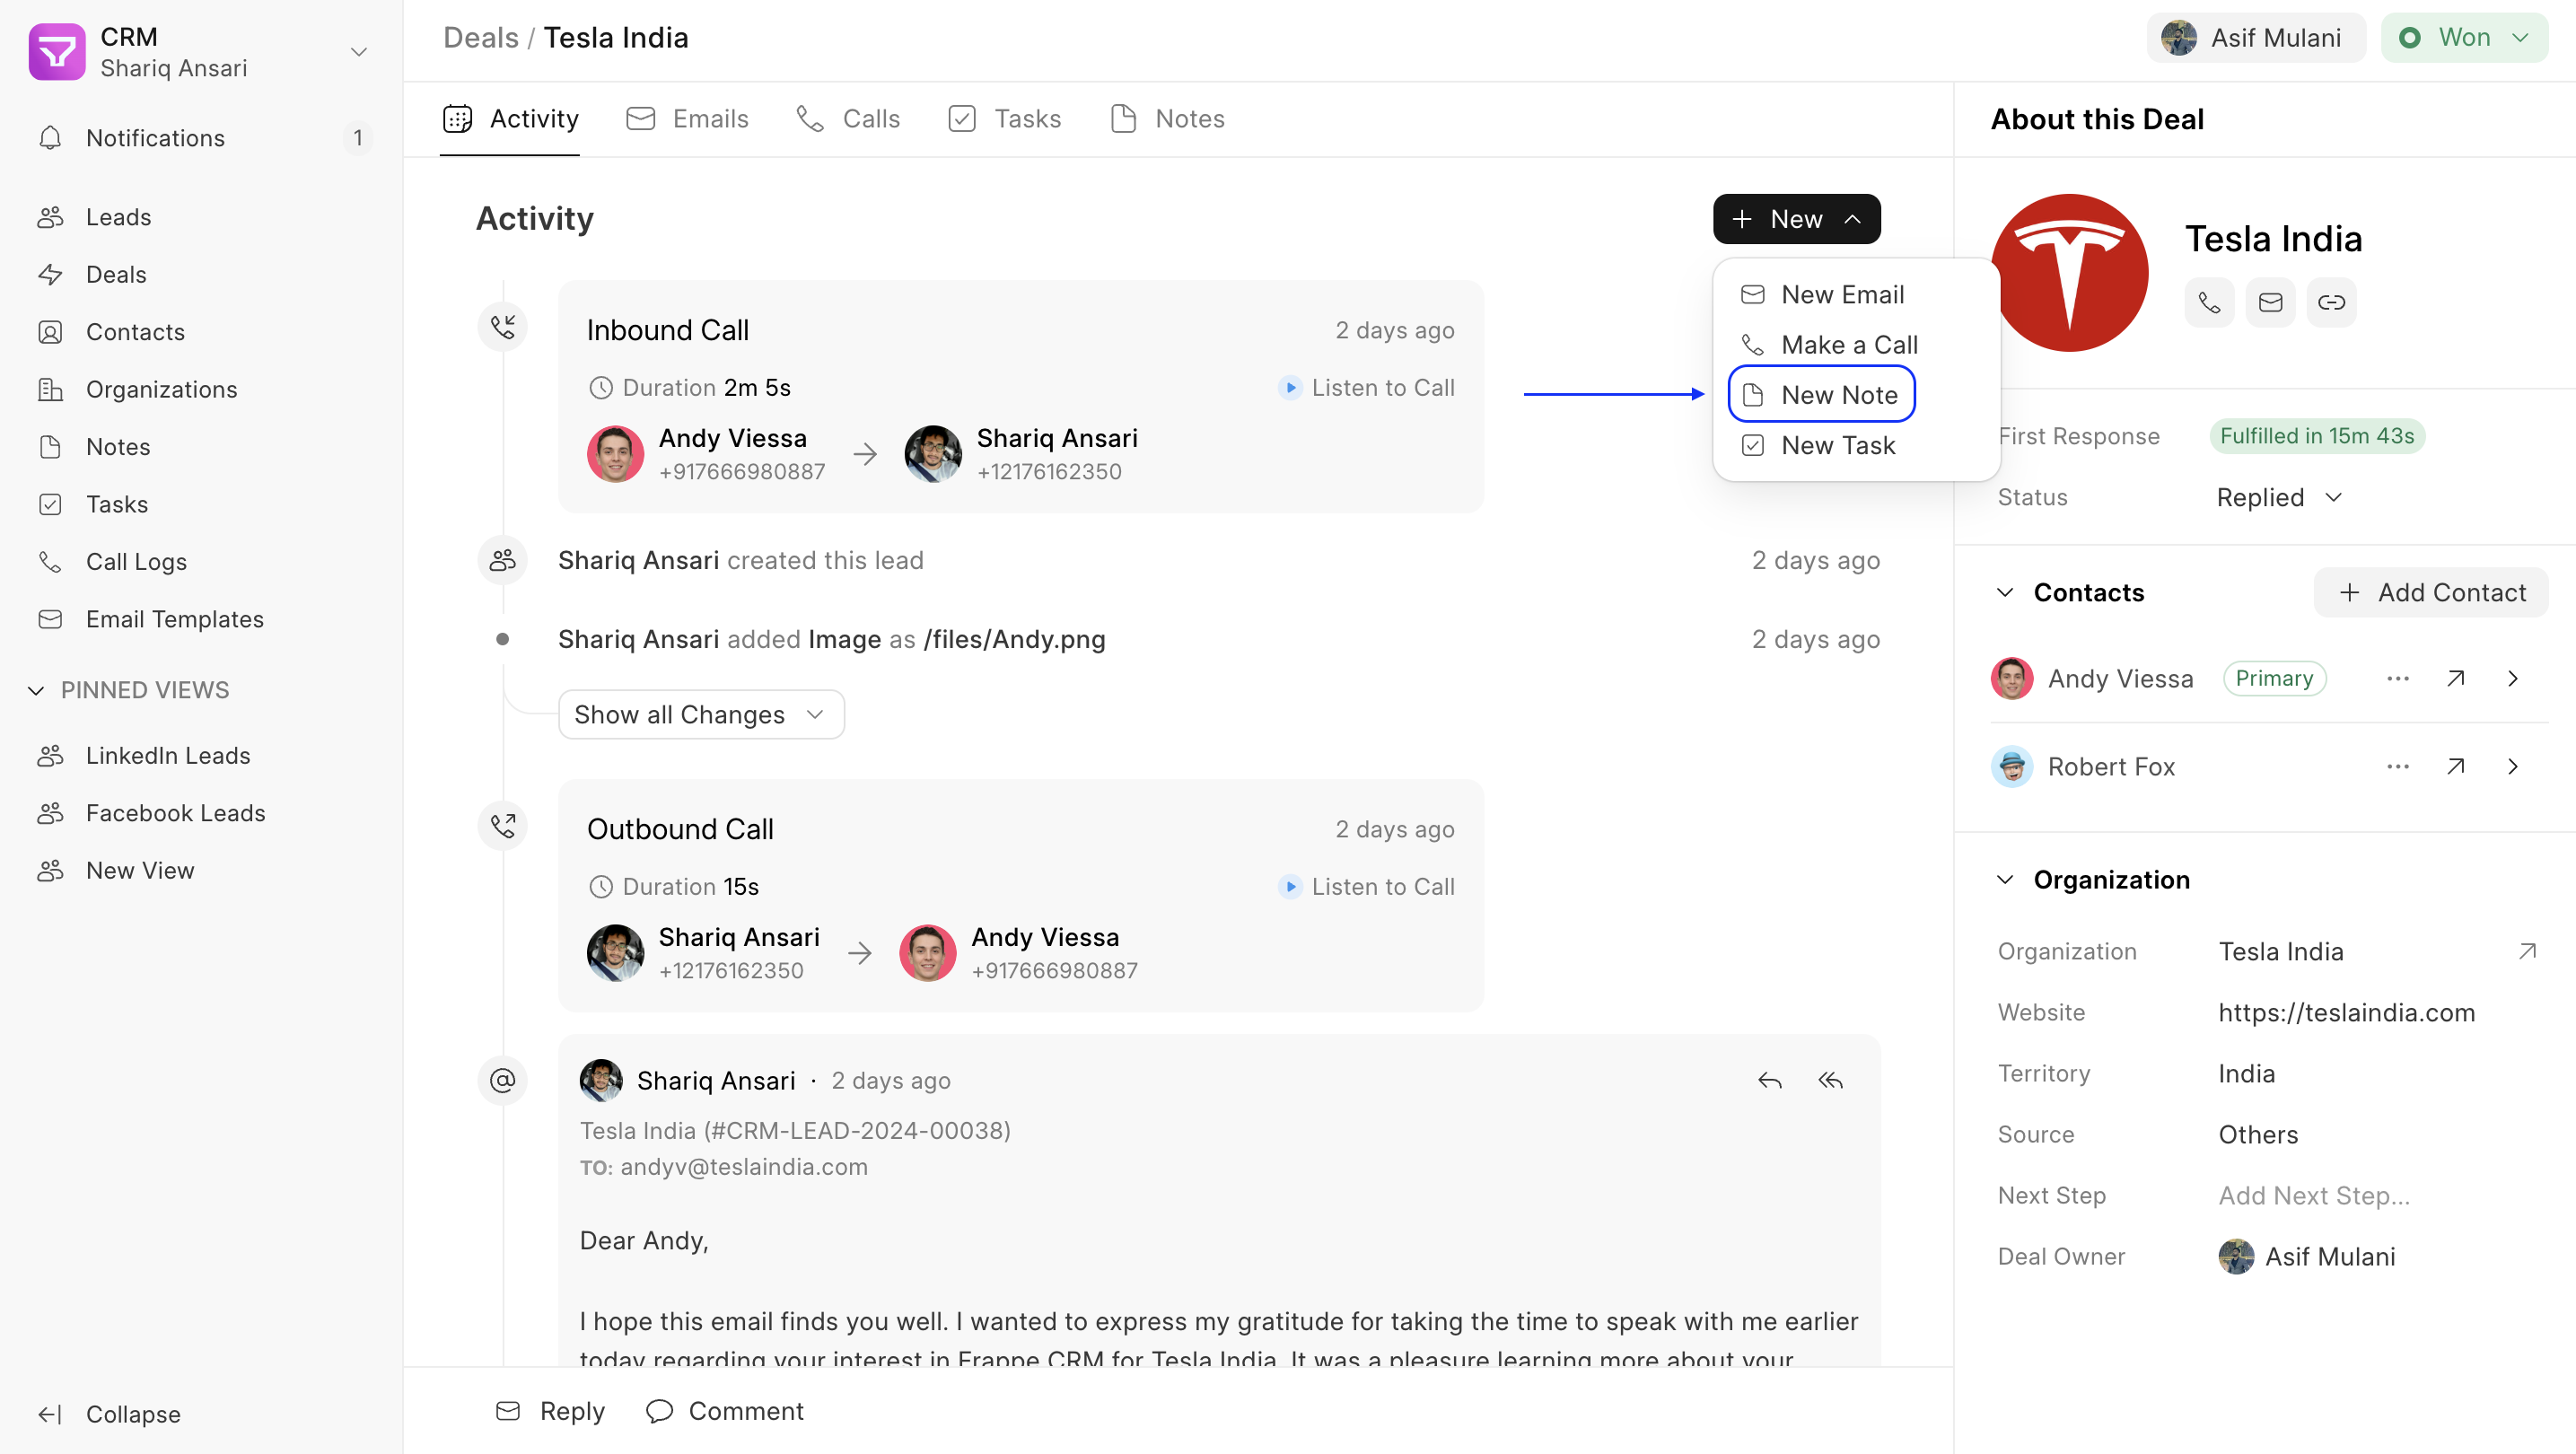

- Call Log: While on a call with a lead or contact, you can utilize the “Note” button to capture important details in real time. These notes are then saved within the corresponding call log, allowing you to review and edit them later.

Using Notes Effectively #
Notes offer a flexible solution for capturing various types of information related to your leads and deals. Here are some examples:
- Call Summaries: Summarize key takeaways from your interactions with leads and contacts.
- Meeting Agendas and Minutes: Outline the purpose and key points discussed during meetings.
- Action Items: List specific tasks or follow-up actions resulting from your interactions. Later you can create a task out of it.
- Research and Insights: Document your research findings and insights about leads or markets.
By effectively utilizing notes, you can ensure all crucial details about your leads and deals are documented and readily accessible to your sales team. This fosters better communication, collaboration, and ultimately, higher sales success.
Task #
The task page in Frappe CRM is your central hub for managing everything on your to-do list.
Here, you can view and manage tasks efficiently.
With the help of Task, you can #
- View All Tasks: Get a clear overview of your entire workload, including upcoming tasks and those you’ve completed in the past.
- Prioritize & Organize: Easily see task details like deadlines, priorities, and assigned users, allowing you to prioritize your work effectively.
- Actionable Management: Mark tasks complete, edit details, and change statuses to keep your workflow moving.
Task Creation #
- Title: Add a clear and concise title that summarizes the task. This will help you and your team easily identify the task later.
- Description: Provide a detailed description of the task. What exactly needs to be done?
- Status: Choose a status that reflects the current stage of the task (Backlog, Todo, in progress, done, canceled)
- Assignee: Assign the task to a specific team member or yourself.
- Due Date: Set a deadline for completing the task.
- Priority: Indicate the priority of the task (e.g., High, Medium, Low). This will help you focus on the most important tasks first.
Tasks #
In the list view of your tasks, you can filter and sort the view.
Call Log #
The call log page in Frappe CRM is for recording, tracking, and managing all your customer calls. It helps you to maintain a clear history of interactions, improve communication effectiveness, and gain valuable insights for better customer relationships.
Make a call #
- You need to go to a Deal/Lead page
- You can make a call by clicking on the call icon in the lead details section or the activity tab by clicking on new and then making a call.
Refer to this page to understand where and how to make calls in the CRM System in detail.
Once your call is done you can check in the Calls tab to track all the call activity made to a Lead/Deal. Also, you can easily refer to the call recording.
Call Logs #
Call log view is a valuable tool for any business that relies on effective customer communication. By leveraging these reports, you can transform your call data into actionable insights, driving improved performance, customer satisfaction, and overall business success.
.gif)
Frappe CRM’s call log reports offer various filters and options to customize your analysis. Here are some common reporting aspects:
- Call Details: Filter calls by date range, time, type (inbound/outbound), duration, agent and customer, and more.
- Agent Performance: Analyze individual agent call volume, success rates (e.g., call-to-answer conversion), and average call duration to measure performance.
- Customer Analysis: Report on call volume, call topics, and customer demographics to understand customer behavior and identify trends.
- Outcome Analysis: Track the outcome of each call (e.g., successful sale, follow-up required) to measure conversion rates and identify areas for improvement.
- Call Recording Analysis: Analyze recordings to identify areas where communication can be improved or gather specific customer feedback. Analyzing call logs can help identify areas where training or coaching can be provided to enhance team communication skills and effectiveness.
Email Template #
Email templates serve as a time-saving tool for composing emails efficiently. With the ability to utilize Jinja templates, you can personalize emails to cater to specific recipients or contexts.
Create a new Email Template #
To create a new Email Template:
- Go to the Email Template list and click on the “Create” button
- Select the DocType for which you are composing the Email Template
- Fill in the other relevant information and click on “Update”
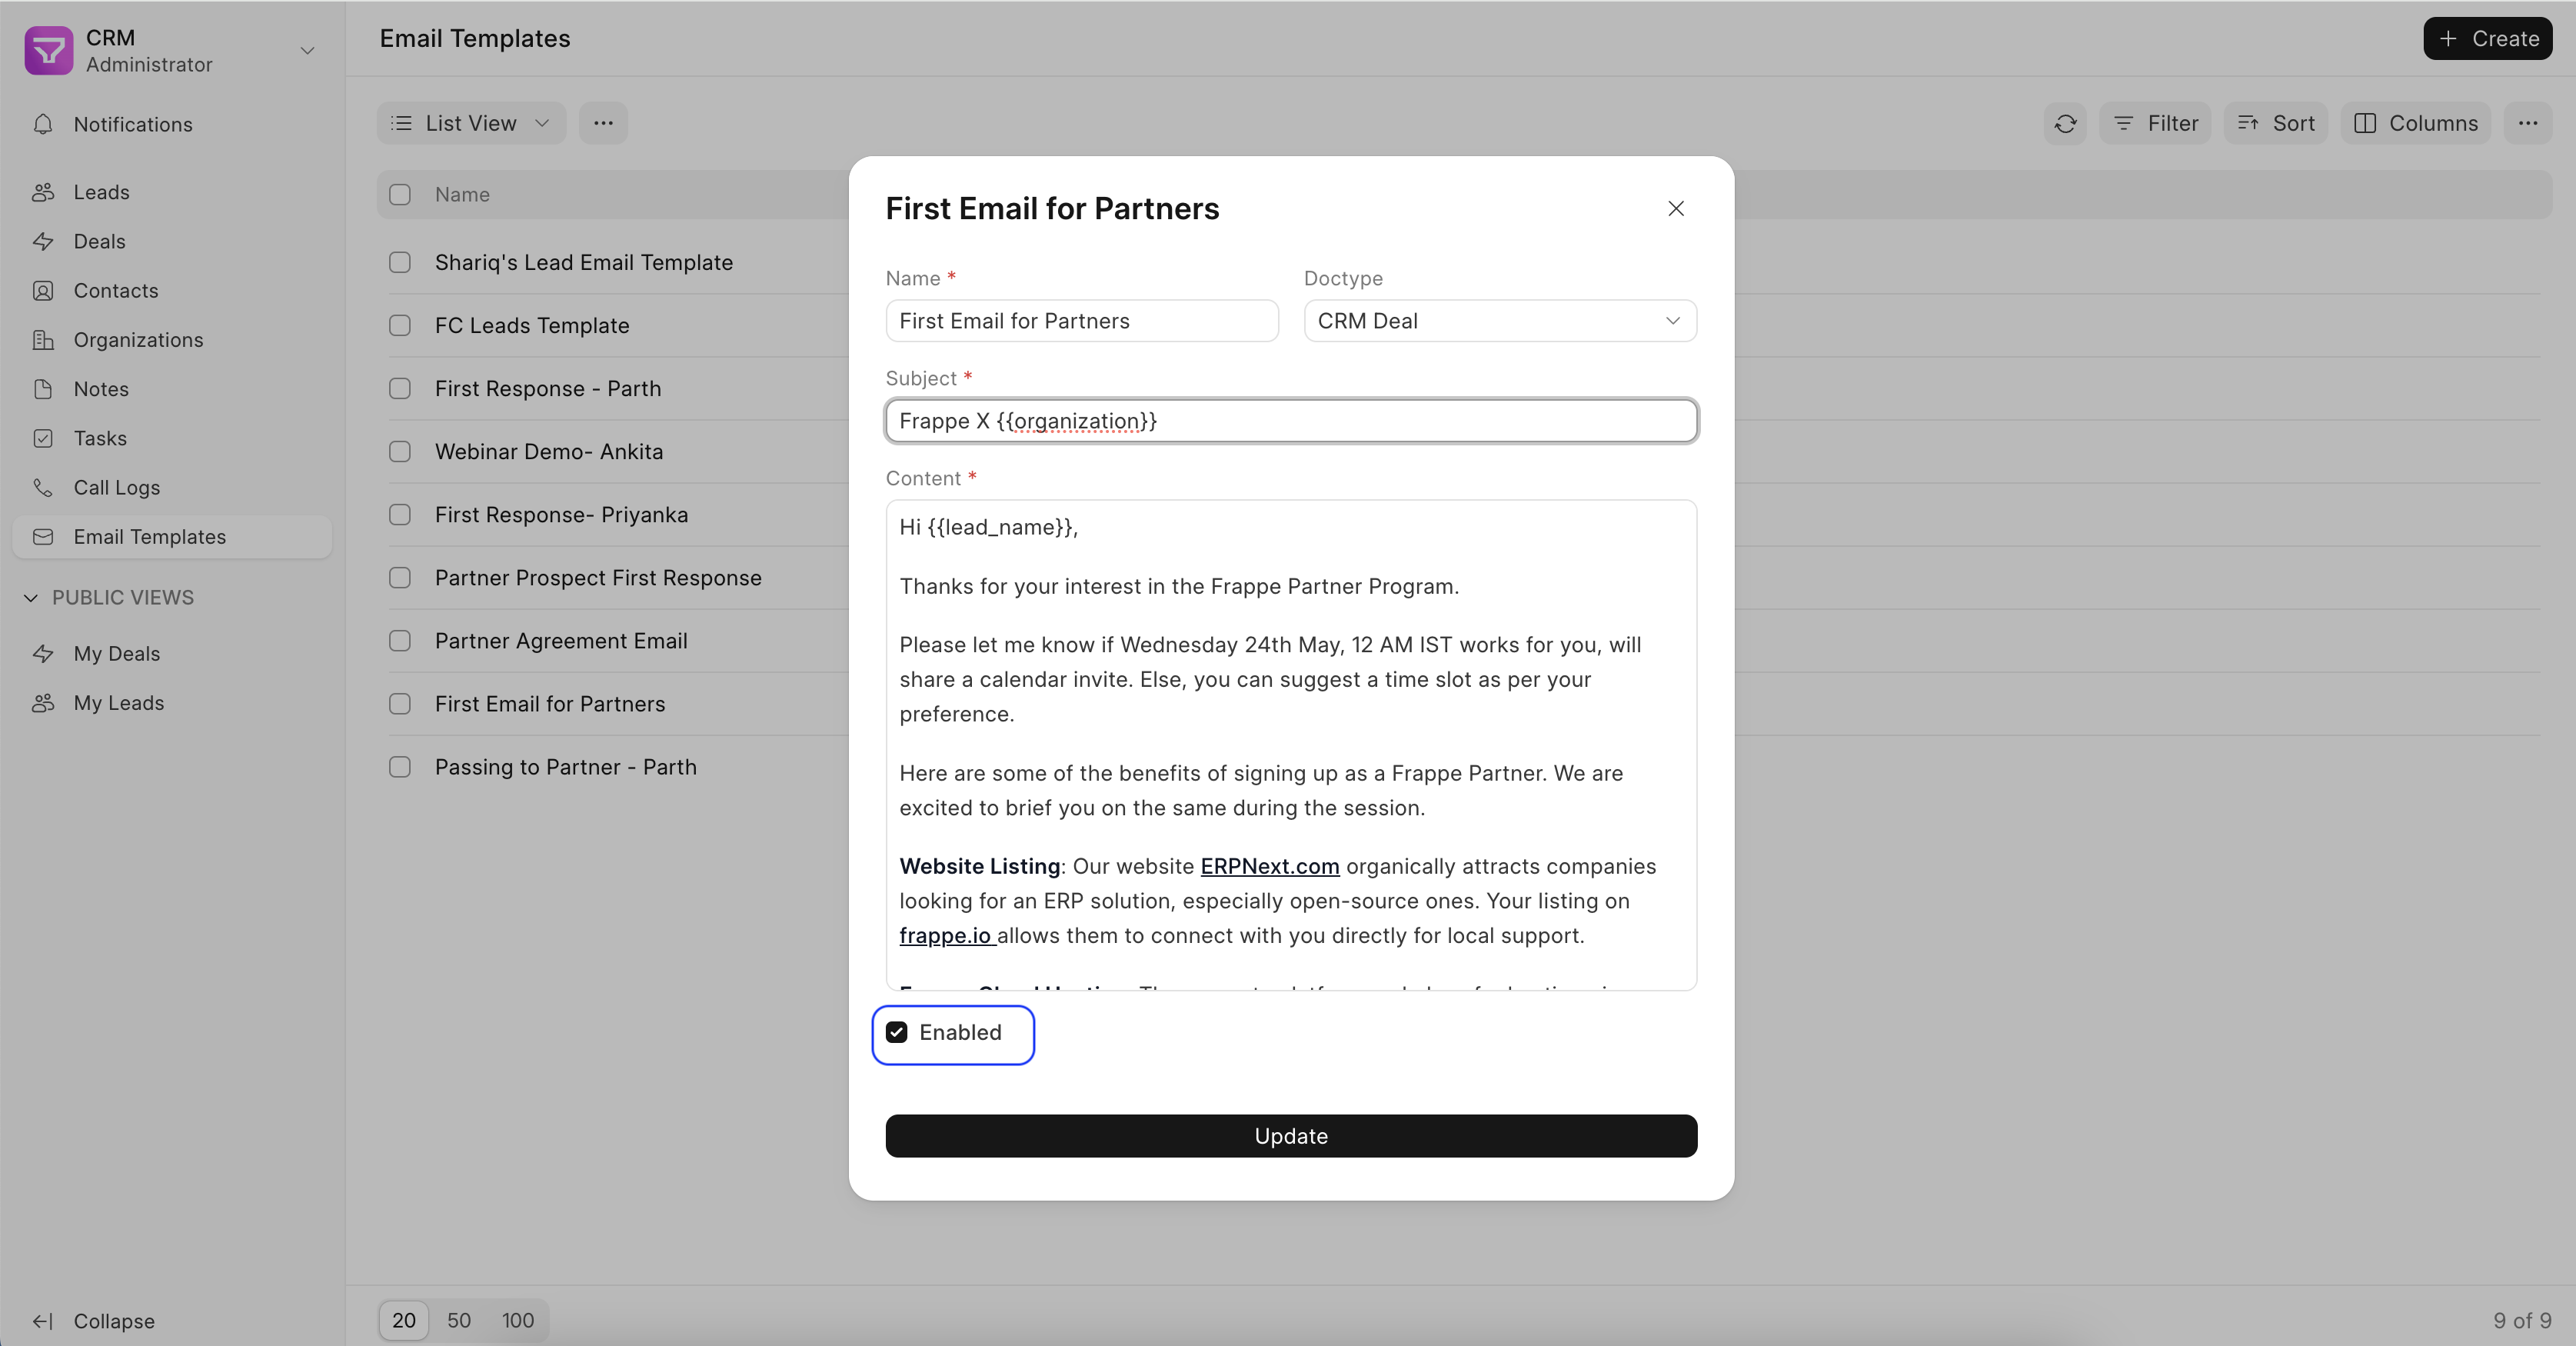
Only “Enabled” Email Templates will be visible for further use.
Using the Email Template #
You can use the Email Templates you have created in various DocTypes while composing in you emails by click on the Email Template button.
For example, as seen in the screenshot, the email template “First Email for Partners” is selected.
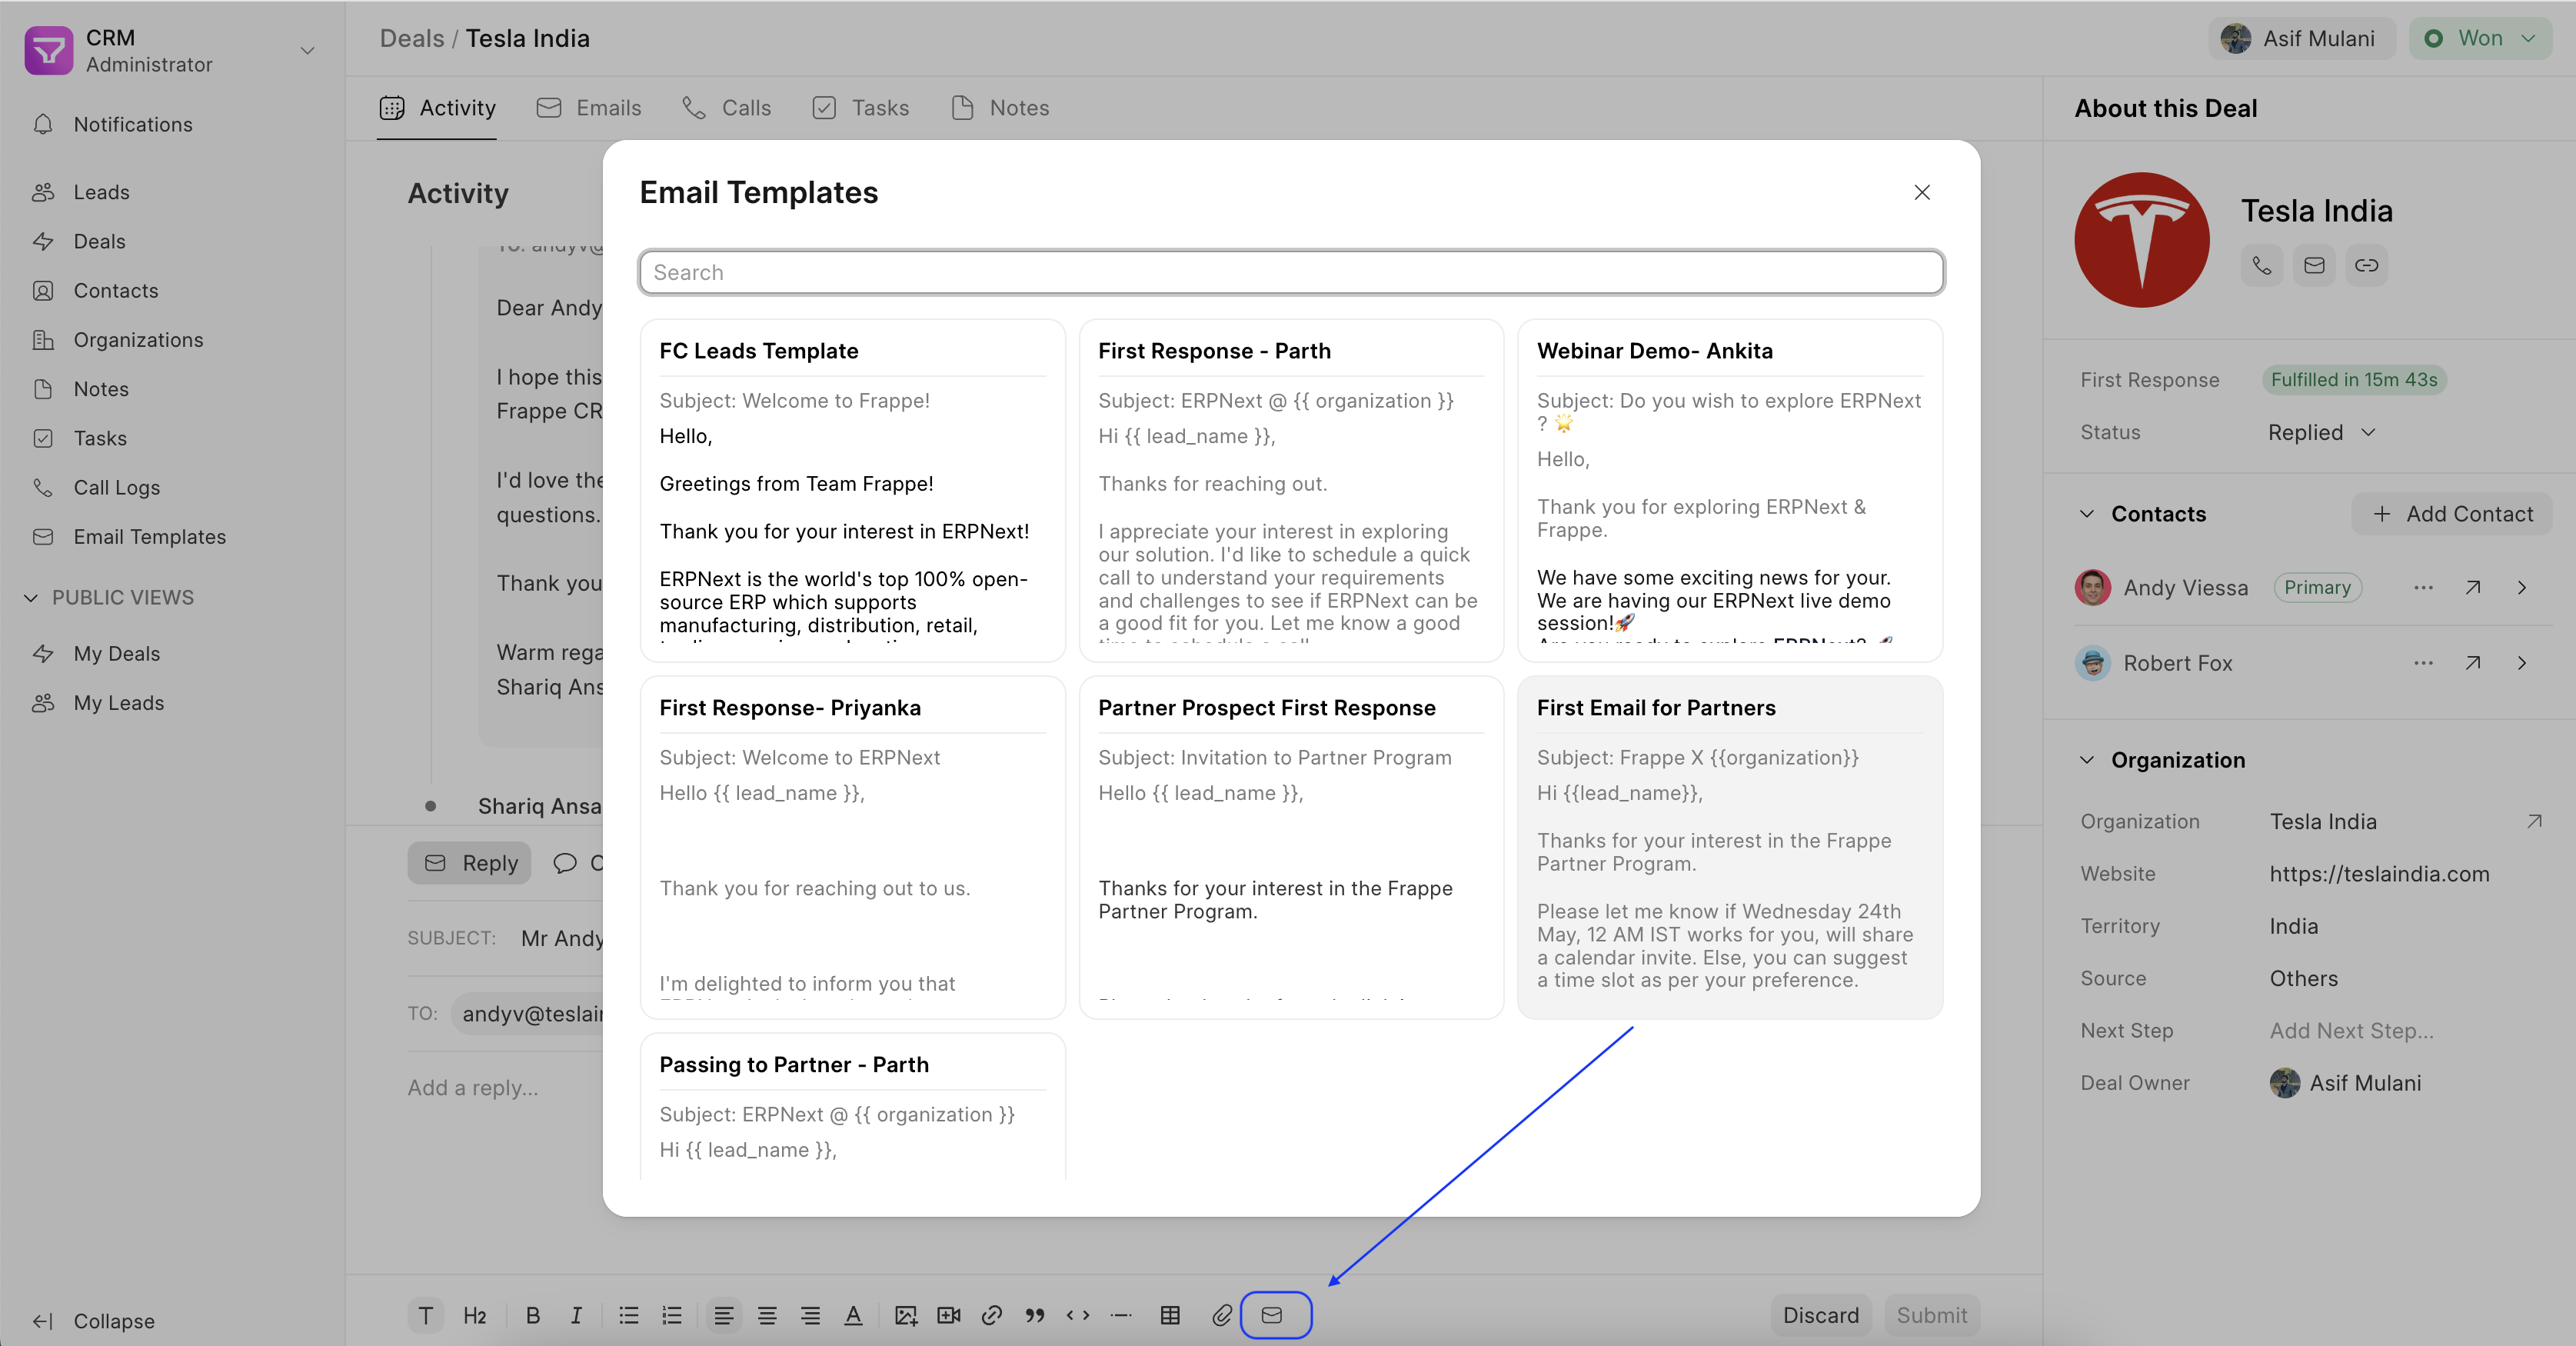
The contents are then copied, and you are free to edit the content as well to personalize it further.
